If you’ve read about creating a website before, you’ve probably come across the term ‘landing page’. But what exactly is a landing page? Why should you have one? And how do you build a landing page with WordPress?
In this post, we’ll show you how to create a landing page with WordPress. We’ll also talk about landing page layouts and what makes a good one.
Creating landing pages is super easy, especially if you use a page builder like Spectra.
Spectra comes with tons of pre-made landing page templates that make the process extremely intuitive.
Let’s get started!
What is a Landing Page and why should you build one?
A landing page is a page designed for a specific purpose. Visitors can “land” on it from a Facebook post, a tweet on Twitter, an email link, a Google search result, or pretty much anywhere else.
A landing page isn’t the same as a homepage, as a homepage is usually designed to welcome any type of visitor. A landing page, on the other hand, is targeted at a particular audience.
Landing pages are super important. Rather than having the same page for everyone, you can have a fine-tuned page that speaks directly to a particular user or serve a particular purpose.
For instance, let’s say you have created an ad campaign for Facebook that targets a certain hobby.
The best strategy is not to just send Facebook users to any page, but to one specifically designed for your target market.
By creating a landing page that targets these particular users, you could maximize conversions, increase revenue, get more subscribers, and be more successful overall.
Who doesn’t want that?!
Method 1: Creating a Landing Page using Spectra
It’s time to show you how to create a landing page using Spectra, the best WordPress page builder plugin.
After installation, you’ll see 30+ powerful blocks and tons of readymade templates, patterns and wireframes which you can use to design your very own landing page.
We’ll show you two ways of creating landing page with Spectra:
1. With a landing page template
2. With patterns
Create a landing page with Spectra templates
Spectra comes with free and premium landing page templates for different niches.
You can import a template and make your own customizations as you see fit.
Let’s show you how.
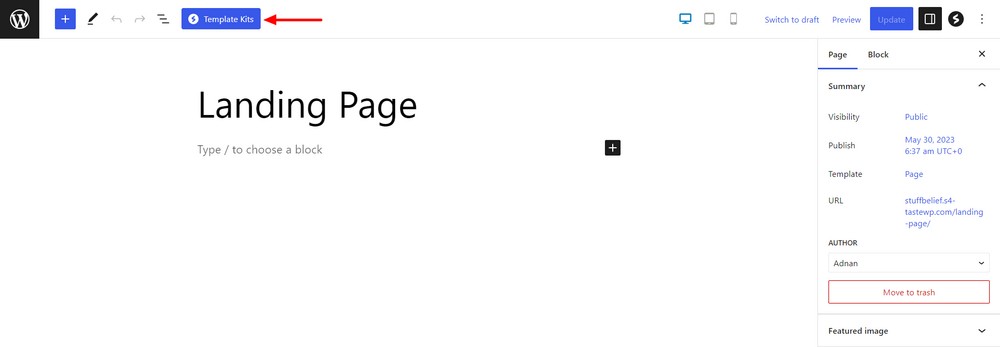
Create a new page and click the blue Template Kits button.
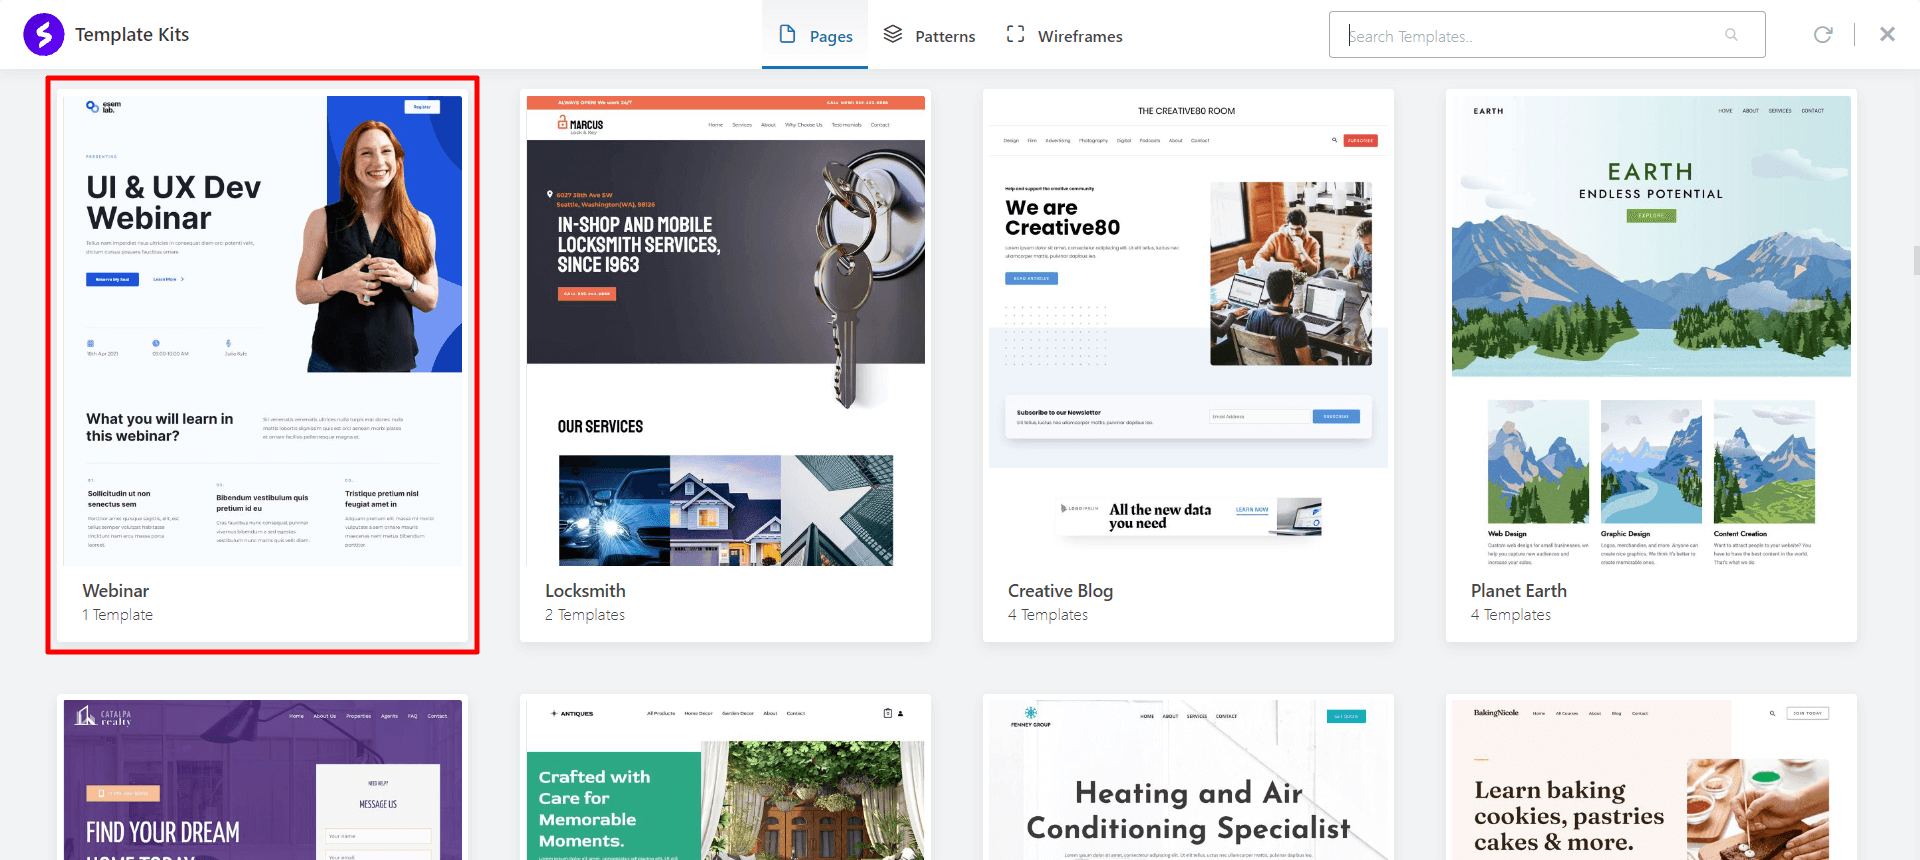
Go to the Pages area.
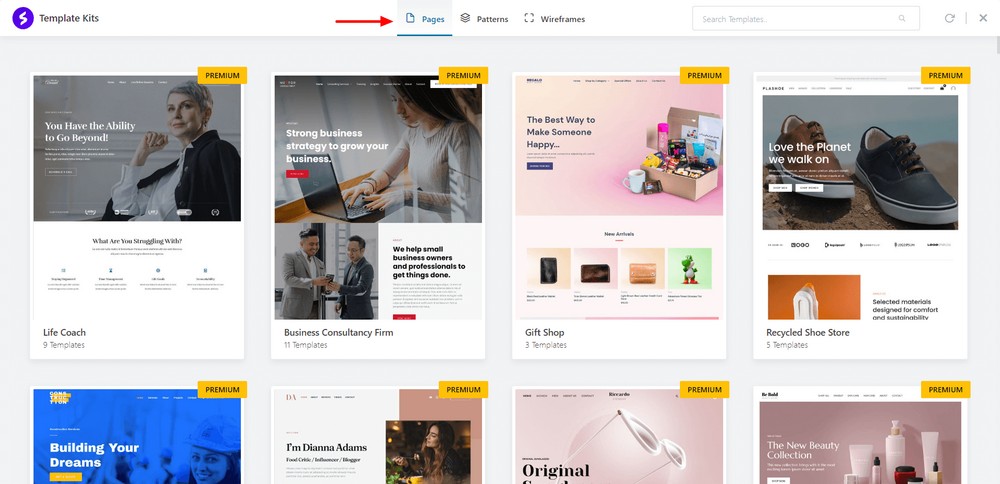
Select a landing page template for your website.
Press the Import button.
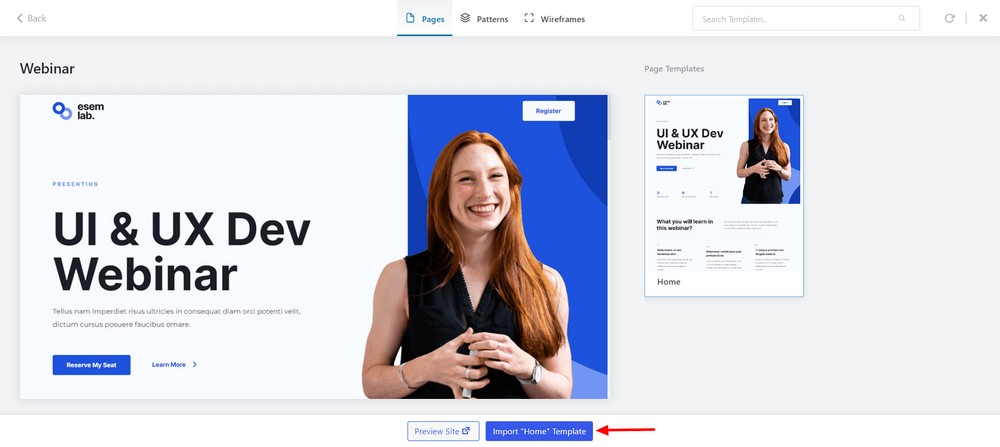
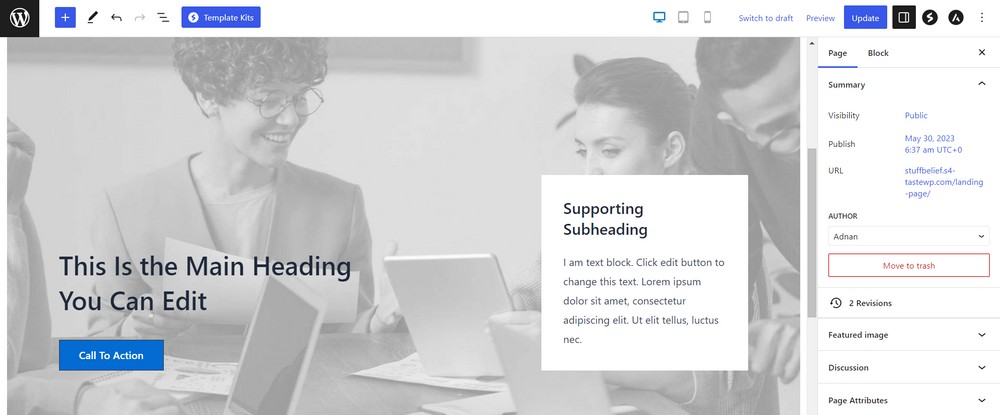
Great! You’ve successfully imported the landing page template.
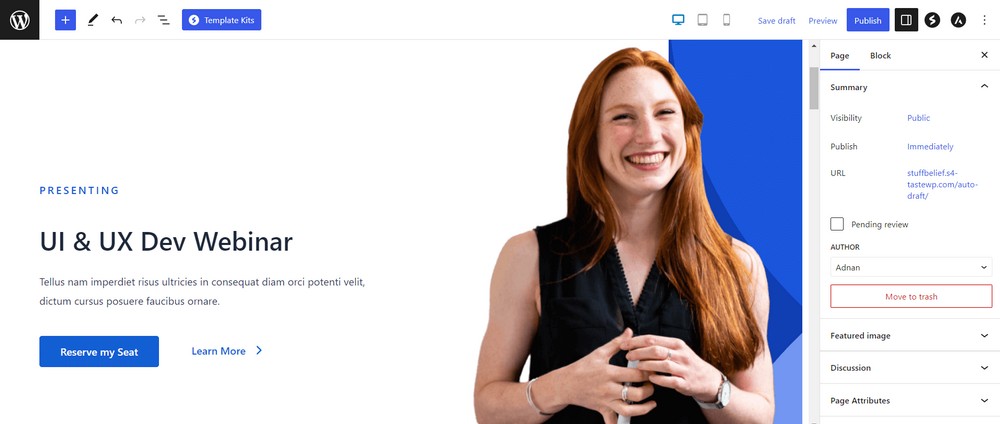
Now, you can customize the template according to your needs.
Creating a Landing Page with Spectra Patterns
To make the tutorial easy to follow, we’ll break down the page structure into the following sections:
- Add a hero section
- Add an about section
- Add an our services area
- Add an our team section
- Add clients area
- Add testimonials section
- Add a call to action (CTA)
- Add contact area
Before we start, first create a new page.
Go to Pages > Add New.
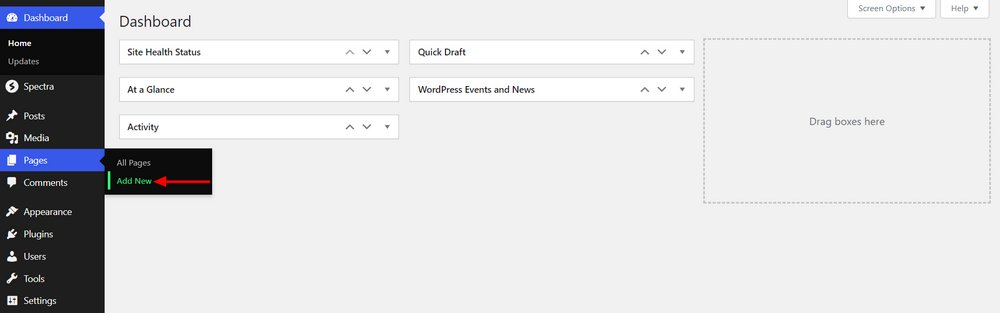
Name your page and hit the Publish button.

If you want to design the landing page from scratch, you could use Spectra blocks.
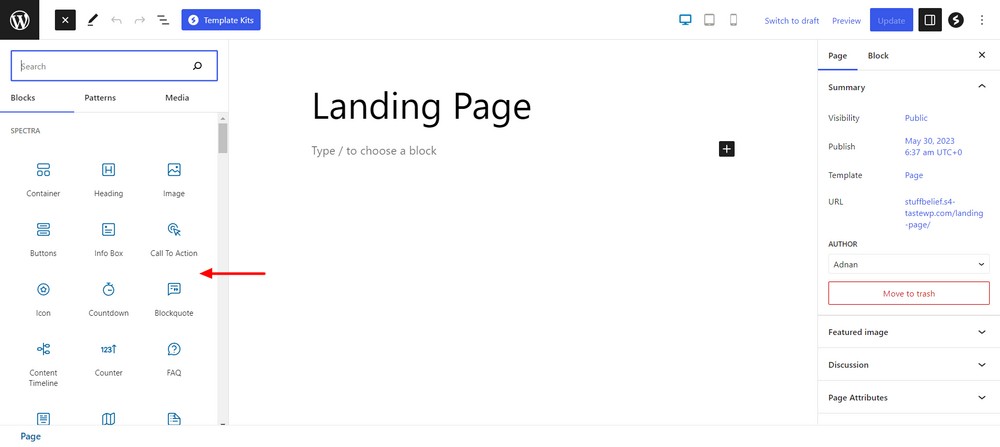
But, we’re going to use predesigned patterns to save valuable time and effort.
Add a Hero Section
A hero section is one of the important parts of a landing page. It usually contains an image, catchy heading and call to action (CTA) to make the page engaging and attractive.
Click the Templates Kits button to open the Spectra library.

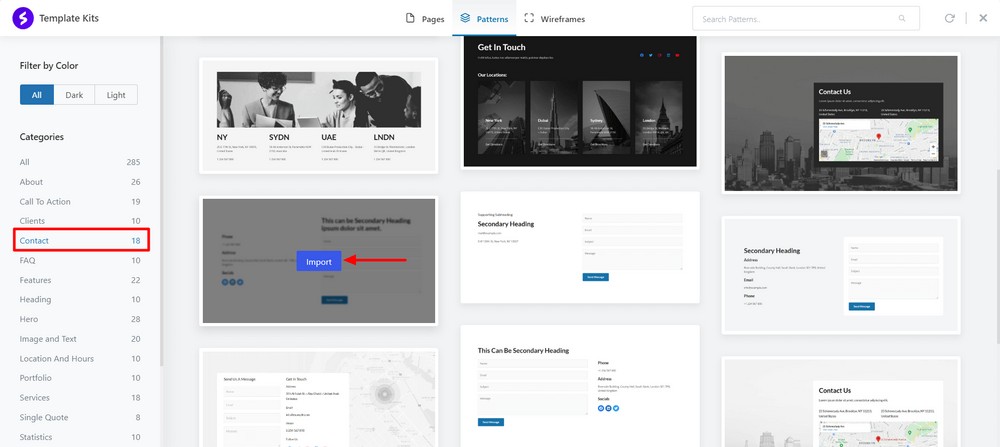
Go to the Patterns area where you see 285 readymade designs.
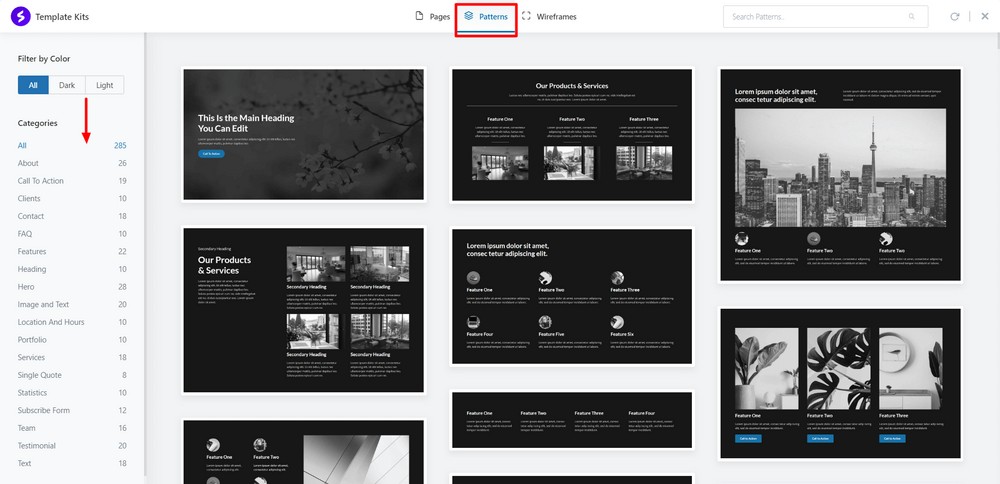
Use the left side category and select the Hero. Here, you’ll see several examples.
Now, choose the right hero pattern and click the Import button. The system will take a couple of seconds to complete the process.
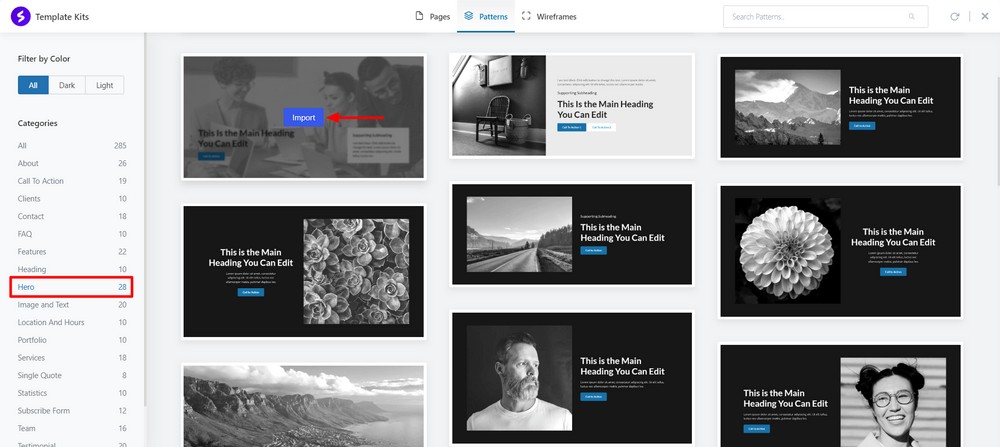
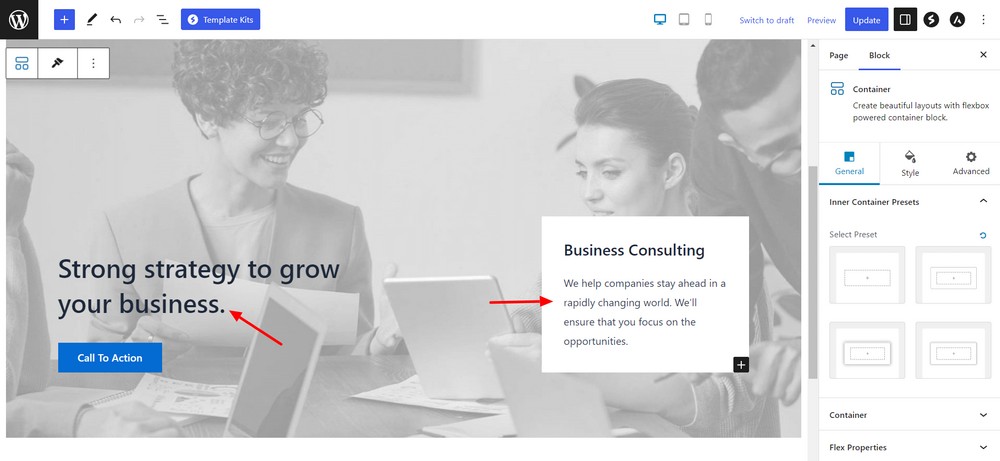
The hero pattern is imported successfully into your page editor.
Change the default content according to your needs. You can use the right side block settings to add new presets and customize the container.
Add an About Section
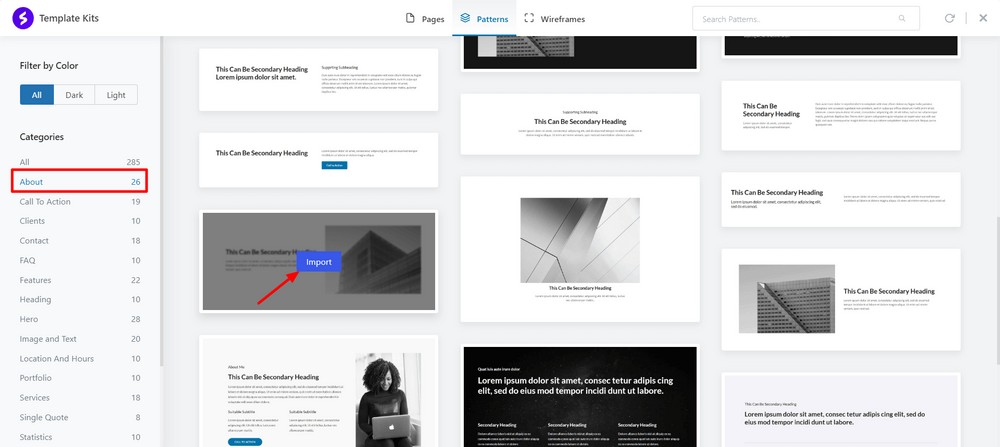
Navigate to Templates Kits > Patterns once again.
Click the About category and select an about pattern among the examples and press the Import button.
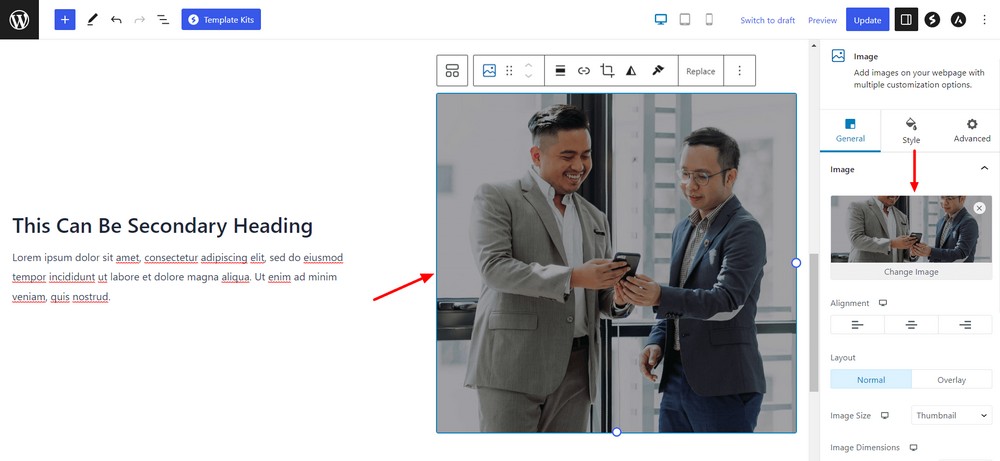
The about section is imported and ready to customize.
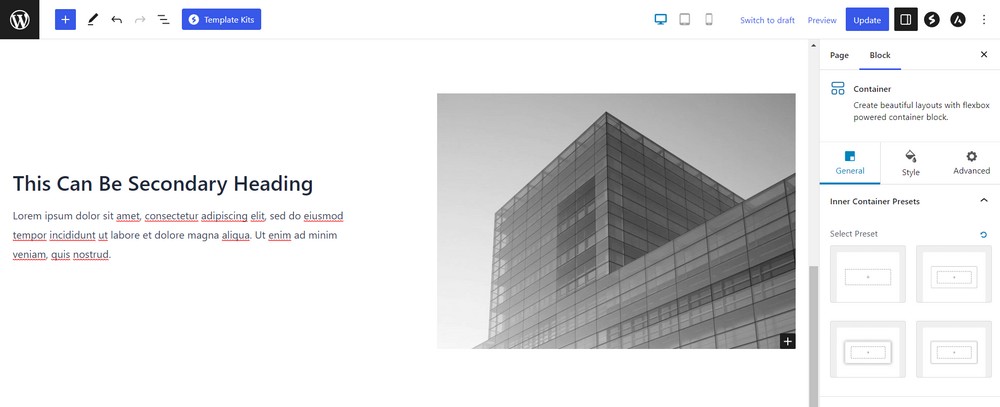
Click the image and use the right side block setting to replace it. You can set the alignment, layout and image size as you like.
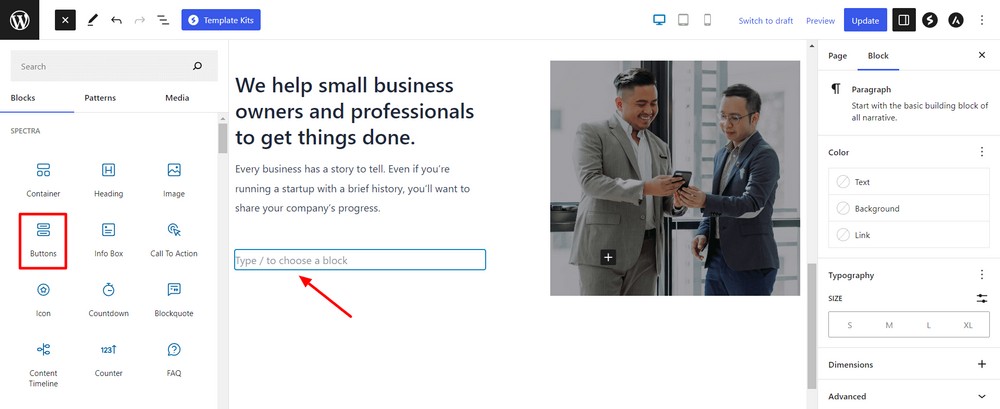
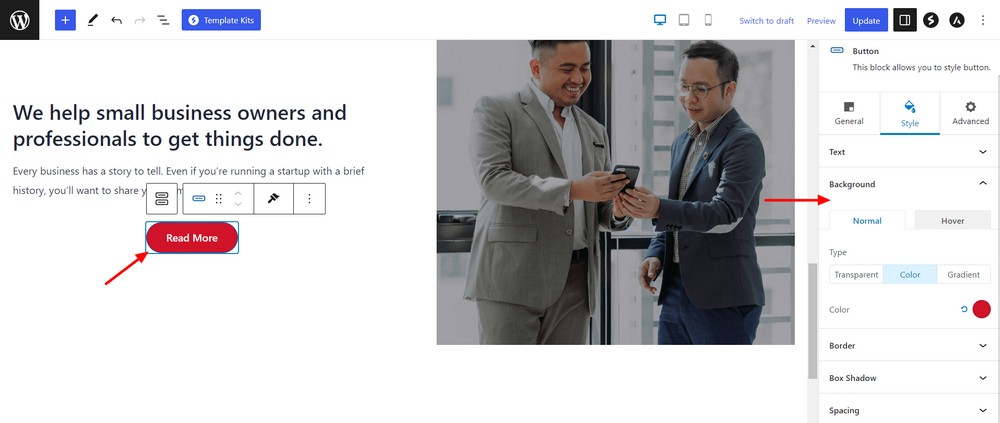
Let’s add a button to the about section.
Click the left side top ‘+’ icon to open the block library and drag and drop the Spectra Button block where you want it.
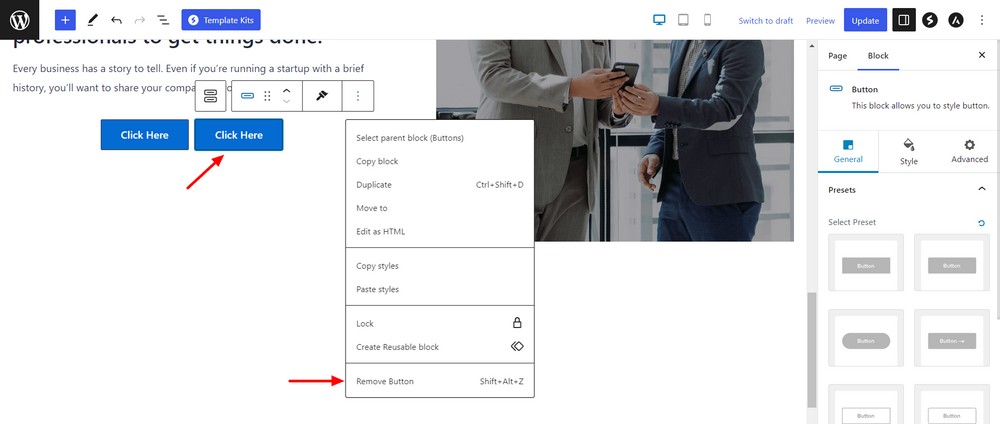
By default, the pattern comes with two buttons but we only want one.
Right click the button and hit the Remove Button or you can use the keyboard shortcuts Shift + Alt + Z to remove it.
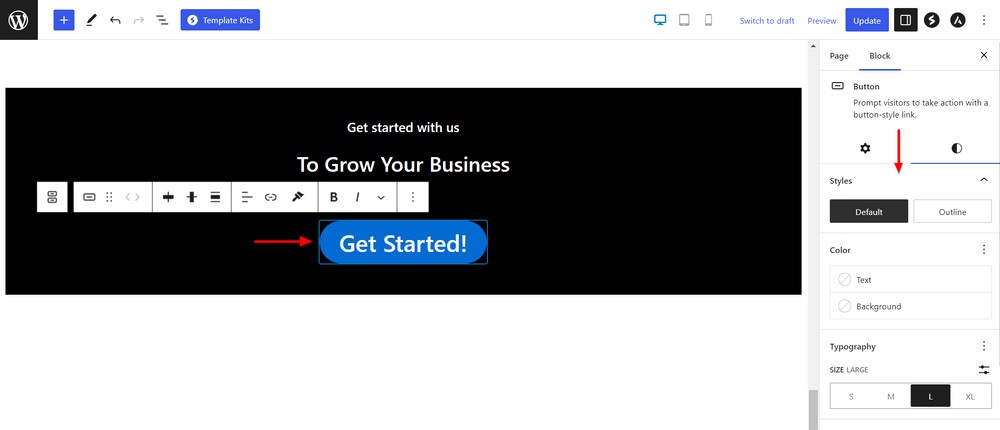
The Spectra button block offers attractive presets you can use to make the page more engaging.
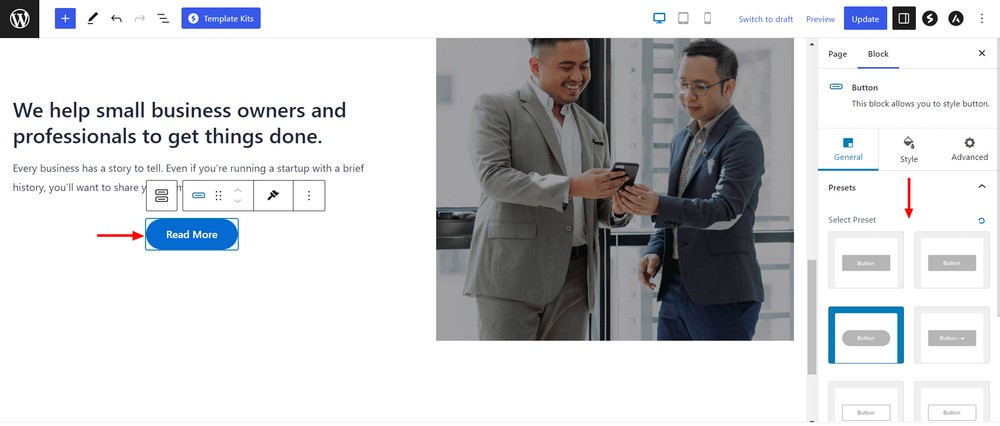
You can use the right side style settings to customize the button design. The settings allow you to change the color, add border and box shadow and manage the spacing.
Add an Our Services Area
Import a service pattern from the library that fits your landing page design.
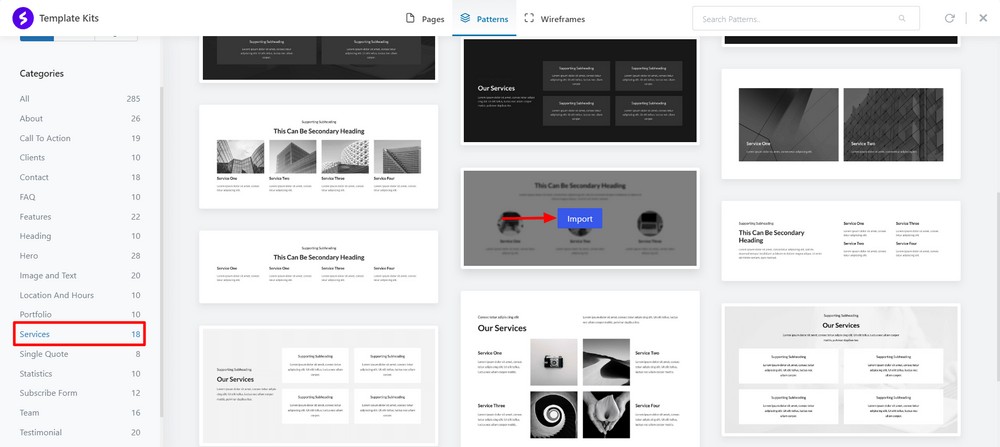
You’re spoilt for choice here so select one you like the look of.
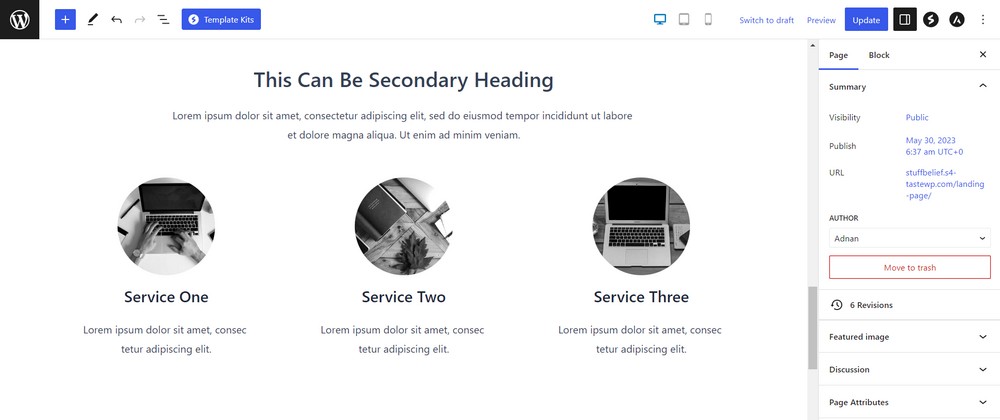
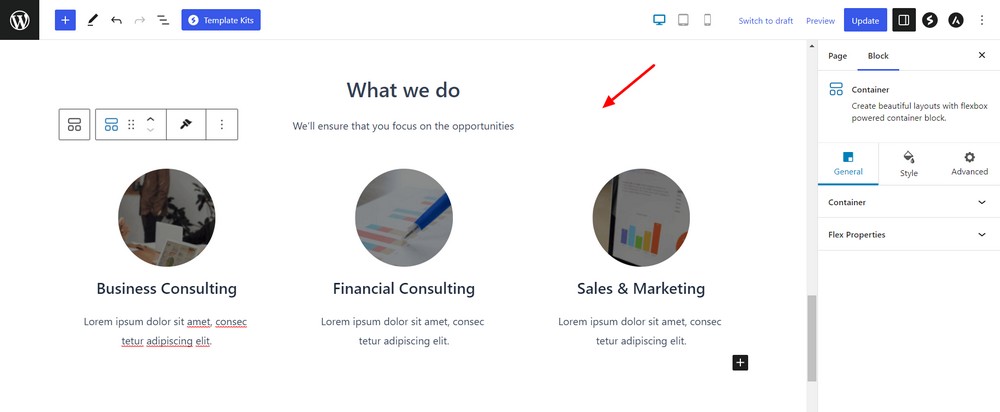
You can change the text and add your service images as you need by selecting an area and making adjustments using the menus.
Add an Our Team Section
Spectra also offers team member patterns which you can import into your landing page.
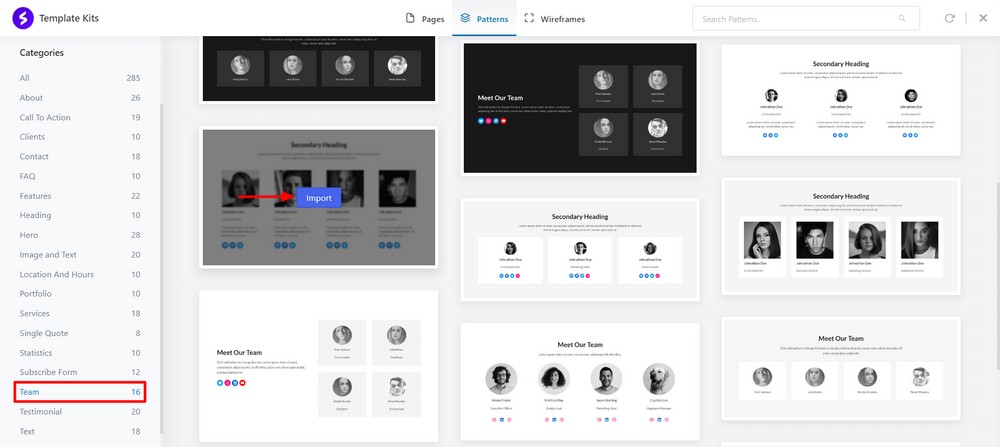
You see a readymade team area is added here.
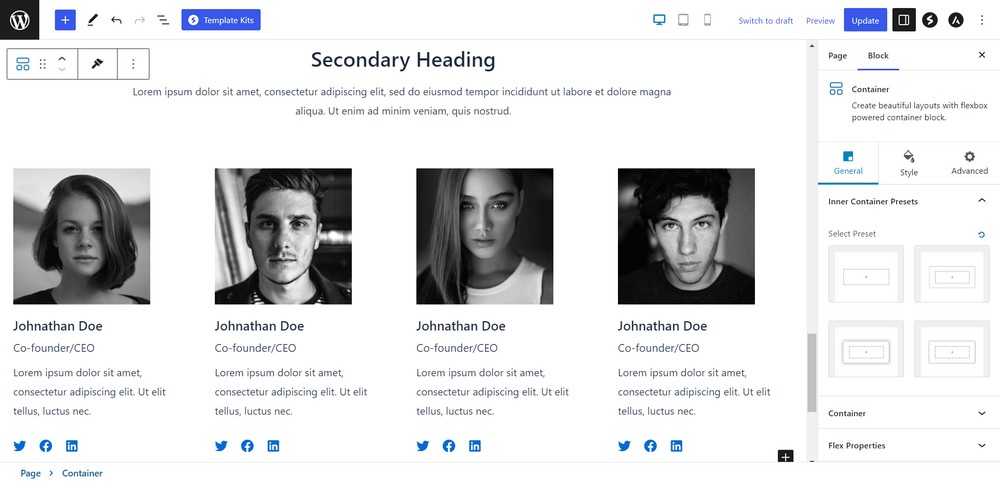
You can add a particular team member’s social accounts link using the block settings.
You can change everything about the block and even photographs of your team members.
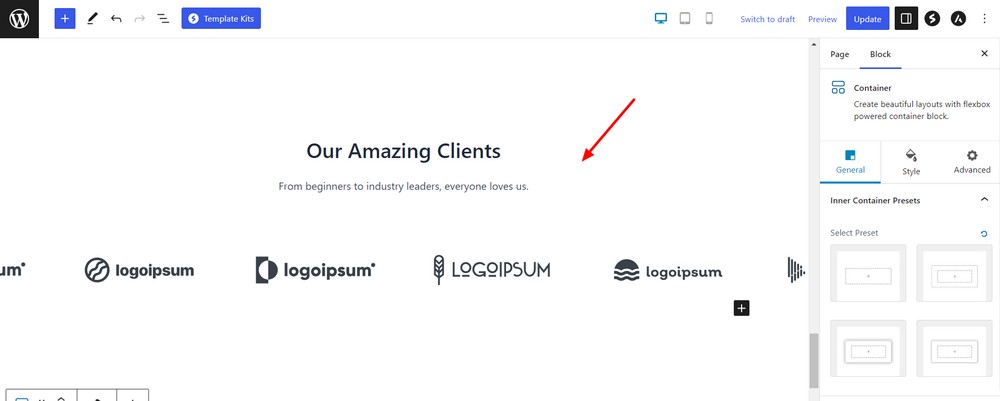
Add a Clients Area
You can add a client section in your landing page that helps build the brand value of your business.

Change the heading, description and logos to fit your brand.
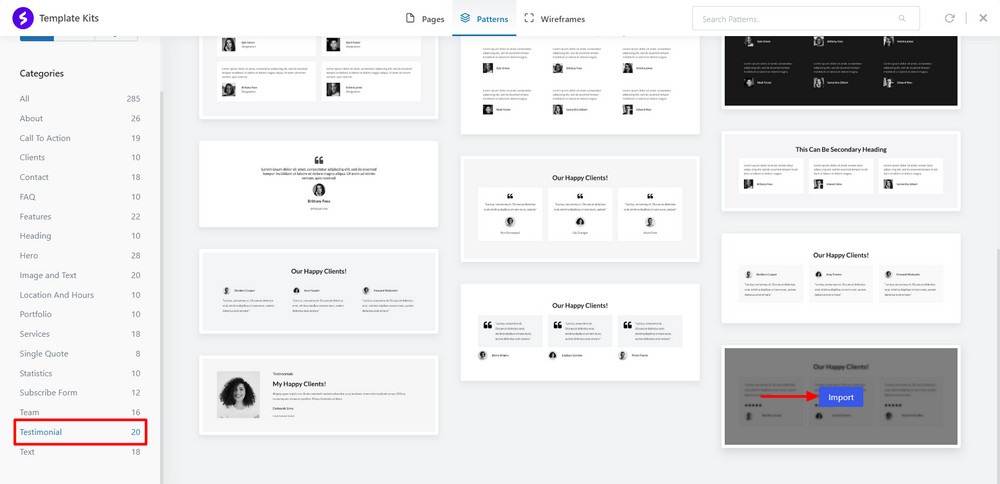
Add a Testimonials Section
If you want to add social proof to your landing page, consider adding testimonials. Spectra provides several visually appealing testimonials patterns which are easy to import and fully customizable.
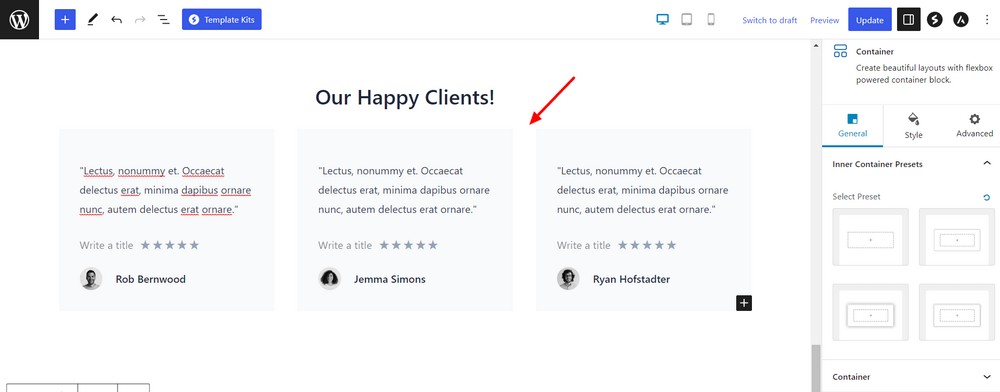
Import a testimonial pattern that seamlessly fits with your landing page design.
The default design comes with dummy content that looks as follows.
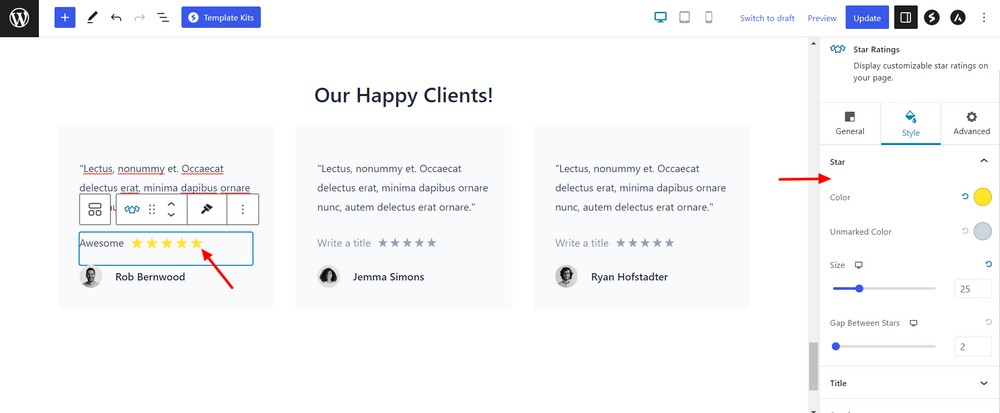
You can change the rating color, size and even the gap between stars!
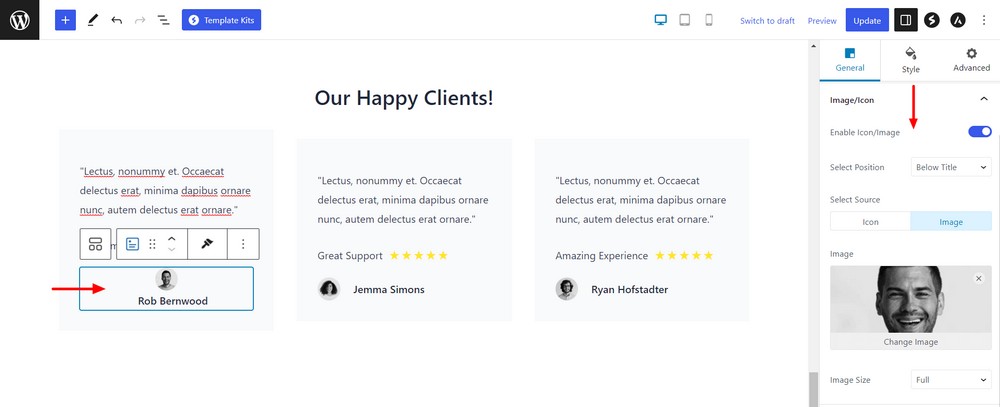
You can also change the position of the reviewer image like above/below of the title and right/left of text and title.
Add a Call To Action (CTA)
A call-to-action (CTA) can help guide your visitors along the path to purchase and conversion.
It’s always good to make your CTAs interactive and engaging and add the right place to your landing page for example header, banner, service or even create a dedicated section for it.
Select a CTA pattern from the library and import it.

Click the container area and use the style settings to make any changes.
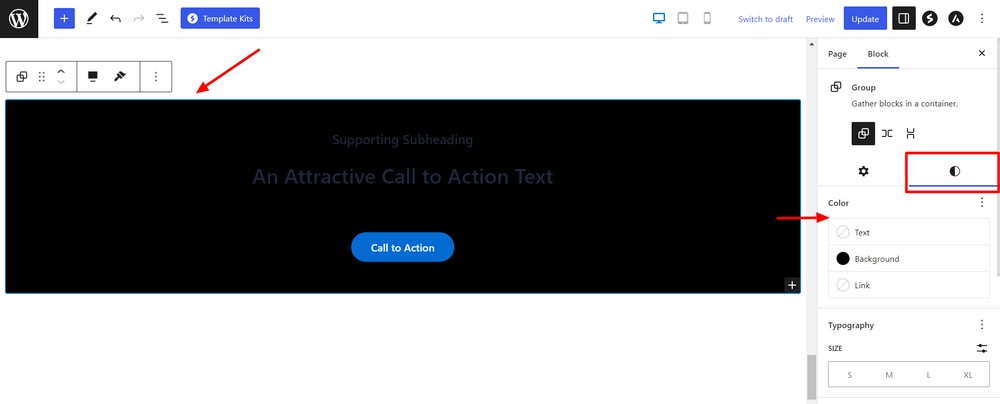
You can also change the text color and customize the button size to make it engaging for visitors.
Add a Contact Area
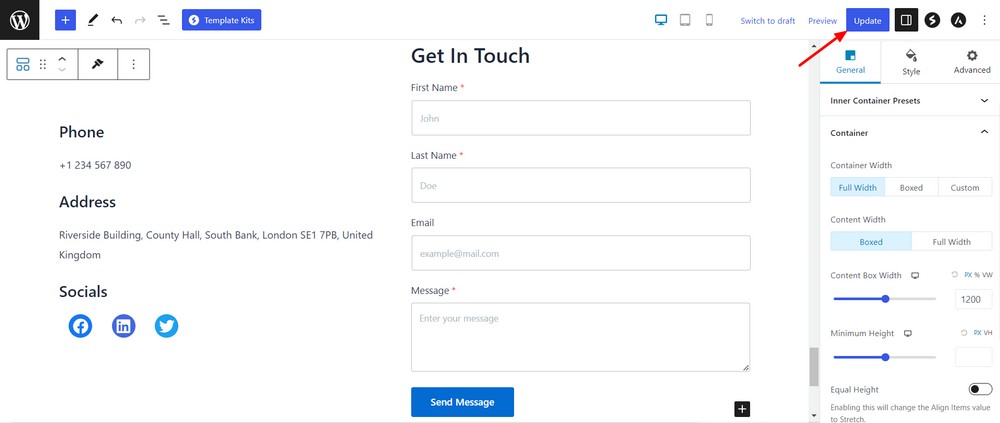
There are many readymade patterns for creating a contact area of a landing page. Choose the one that fits your design and import it in the same way you did before.
Once the content section is successfully imported, you can make any changes.
Once you’ve completed the customization click the blue Update button to save changes.
Now, check out your new landing page!
Method 2: Creating a Landing Page using Beaver Builder
Beaver Builder is a page builder plugin for WordPress. You can use the drag and drop content modules or readymade templates to create your landing page similar to Spectra.
Before you start, make sure that you’ve purchased the Beaver Builder premium version. You’ll need a couple of the features to create your page.
Create a new page and open it in the editor panel. Then hit Launch Beaver Builder.
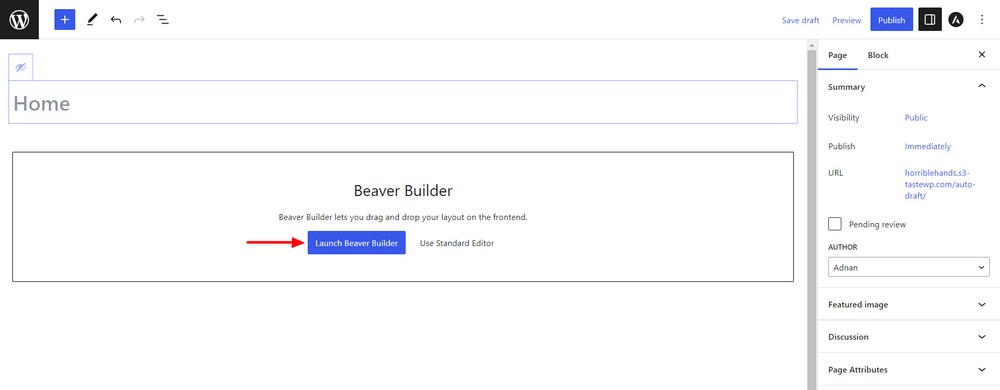
The page will open with the Beaver Builder visual editor.
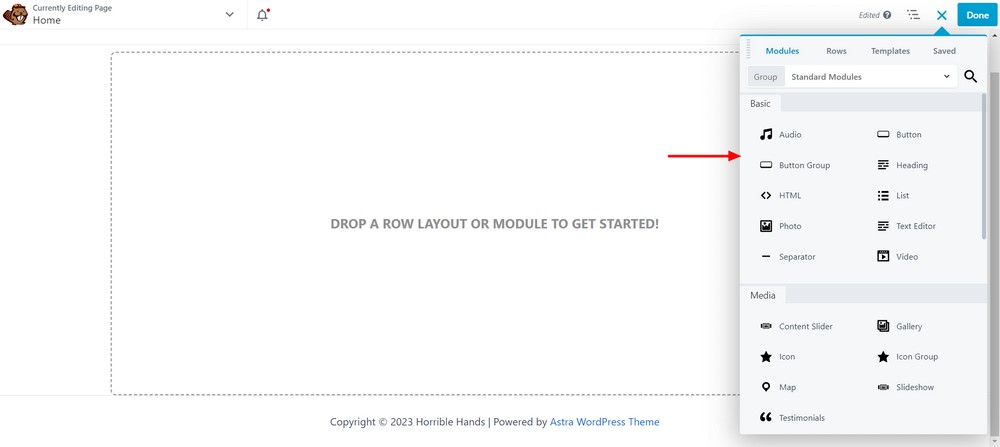
Go to the Templates area and select Landing Page.
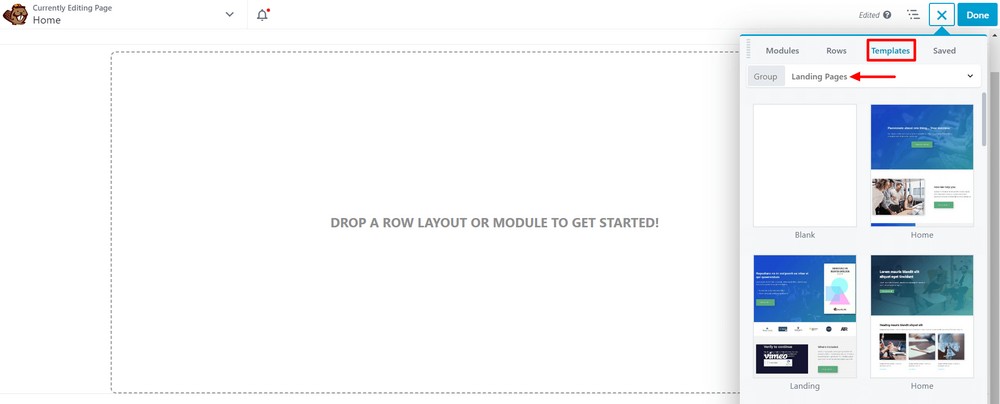
Choose the landing page template for your project and import it into the visual editor.
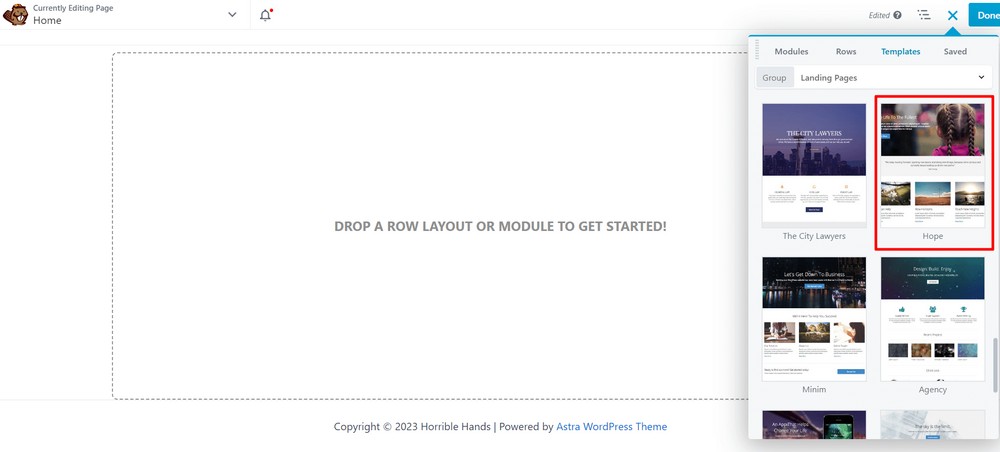
The template will be imported and you can now customize it as required.
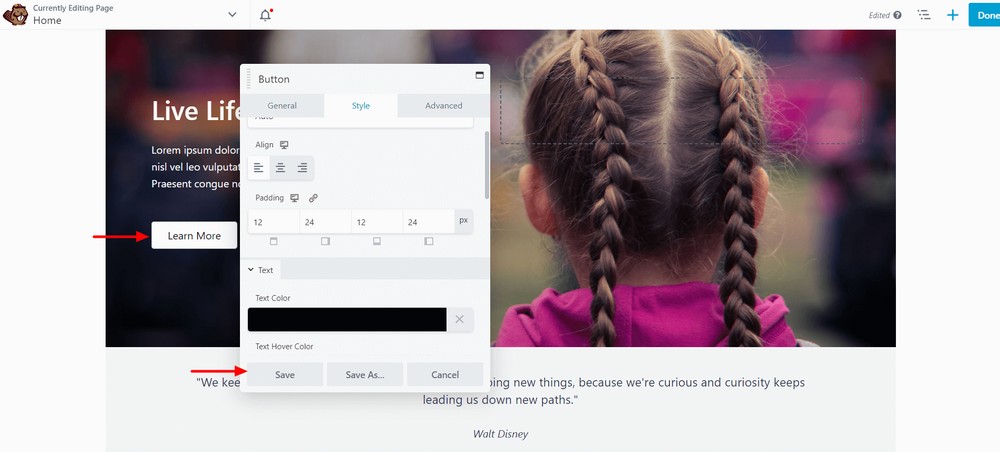
Click the button so that you can customize its style.
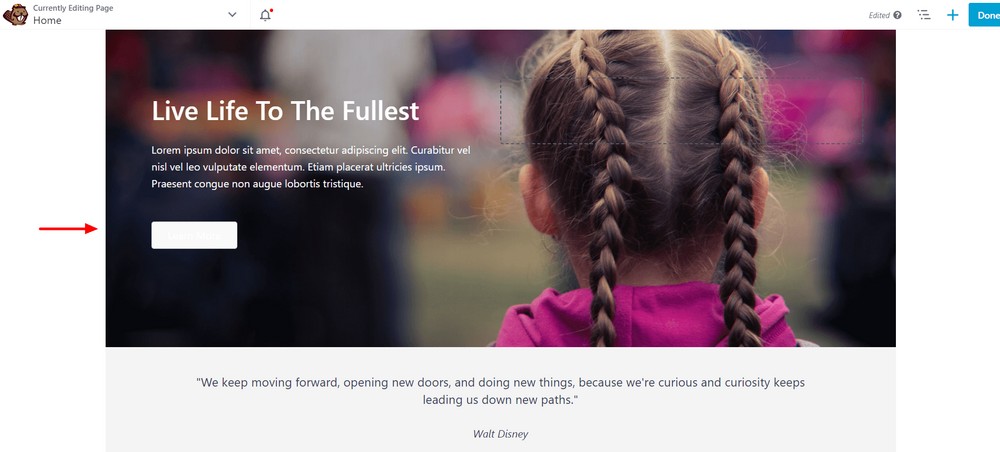
Under the Style area, you’ll see all the settings. You can set alignment, add padding and text color and other essentials.
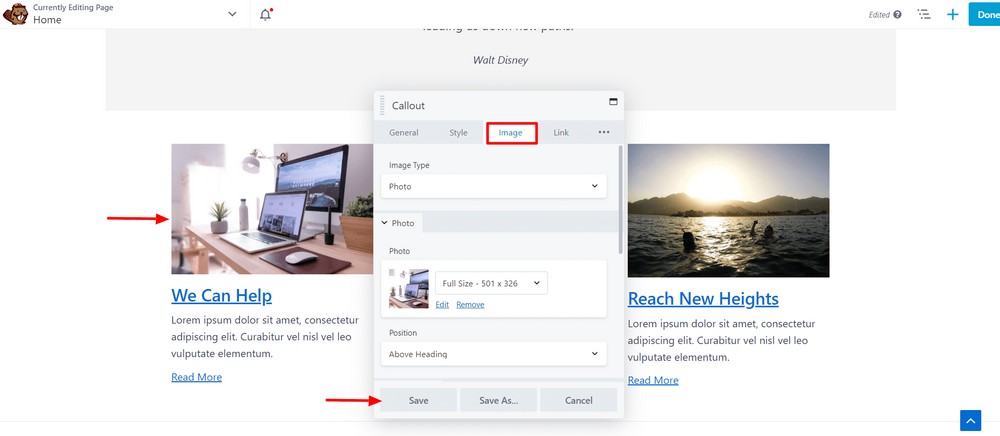
If you want to change an image, click the particular image first.
Go to the Image area and use the provided settings to customize the image.
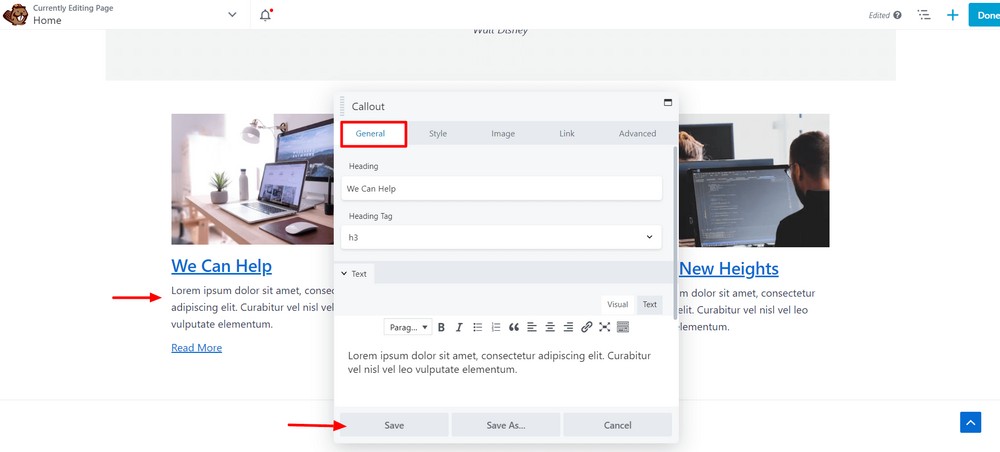
You can also change the heading and paragraph and style it using the settings in the General area.
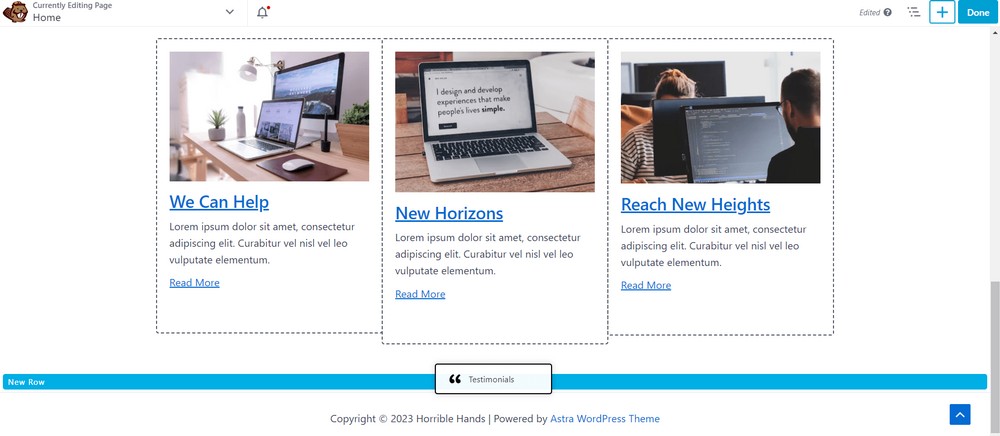
If you want to add a testimonial area to the landing page, use the Testimonial module.
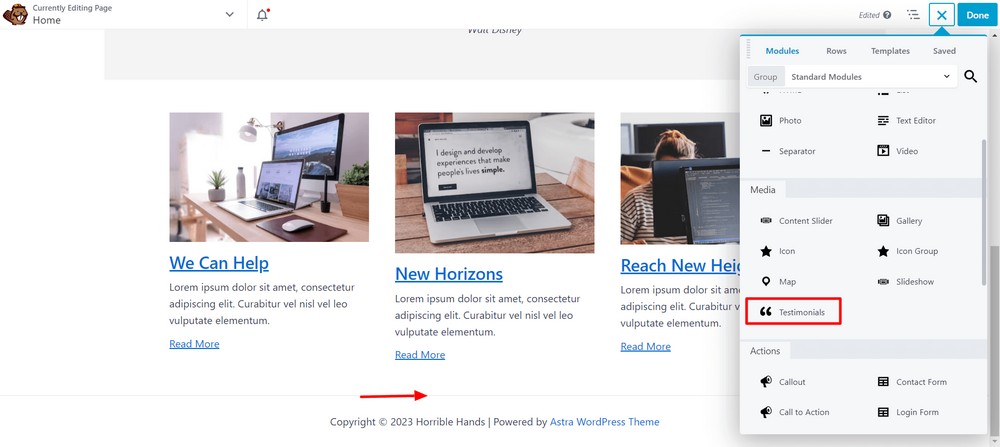
Drag and drop the Testimonial module into the interface.
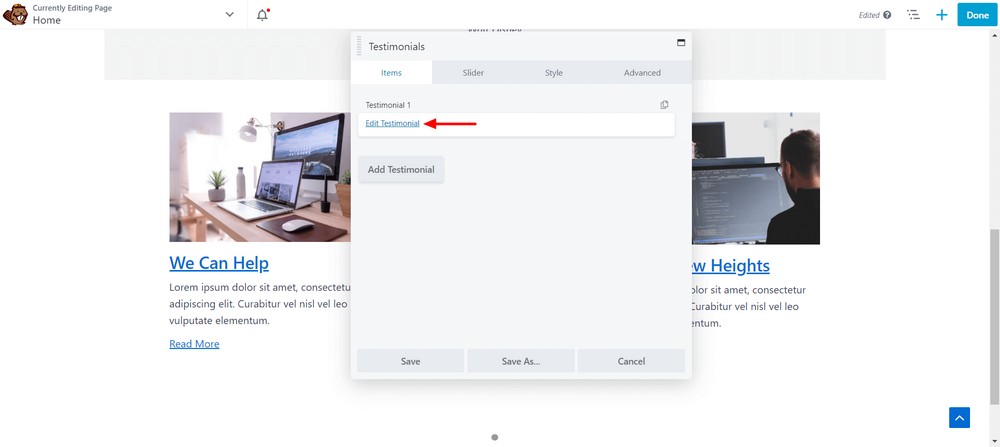
Click the Edit Testimonial link.
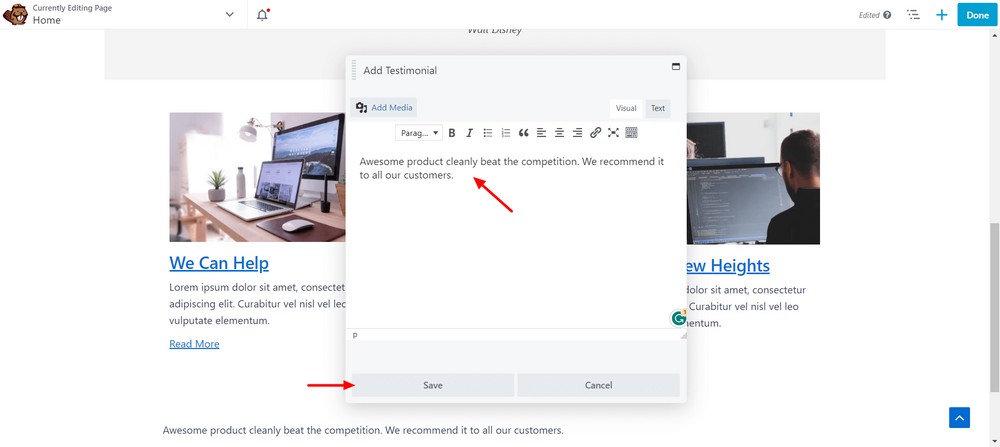
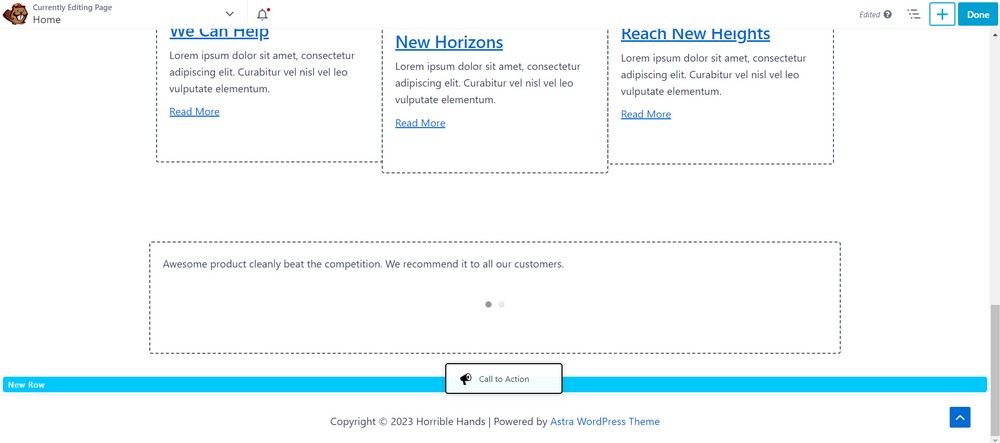
Now, add testimonial slider content and hit the Save button.
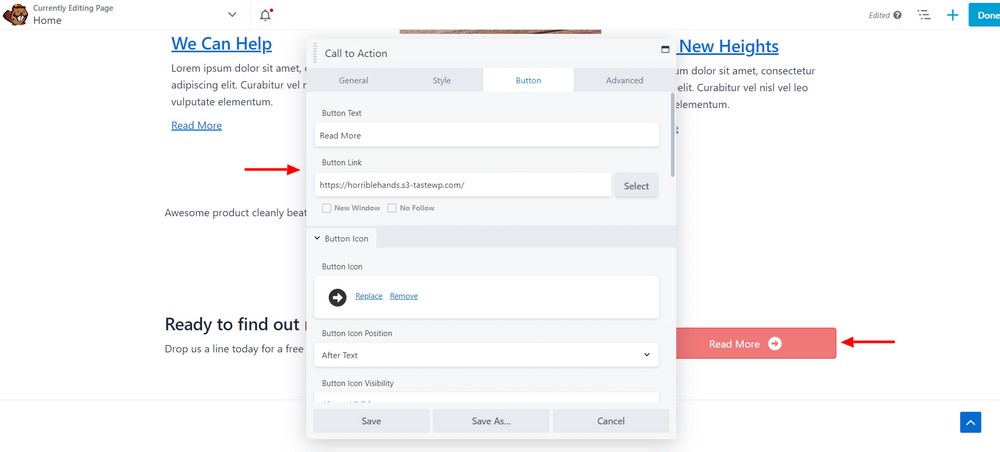
Let’s add a call to action (CTA) section. Drag and drop the CTA module into place in the page editor.
Click the CTA button to open the settings. You can change the text and add links, icons, and background colors to make the button more engaging as you like.
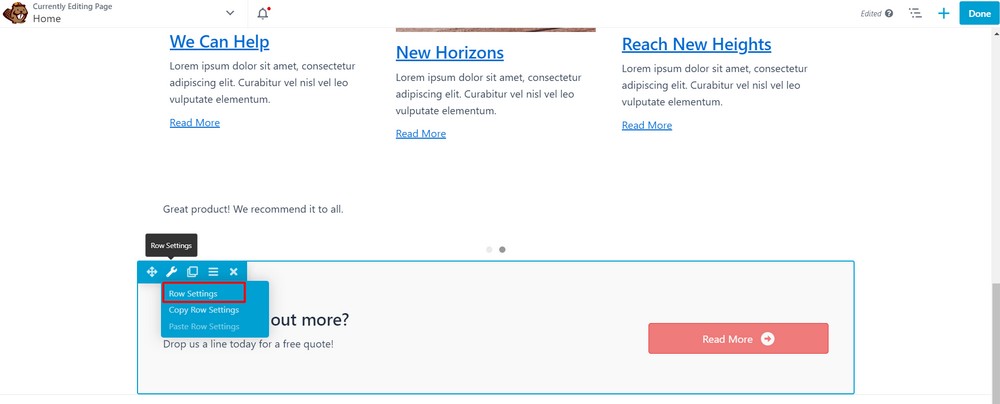
If you want to change the background color of the row, you need to click the Row Setting.
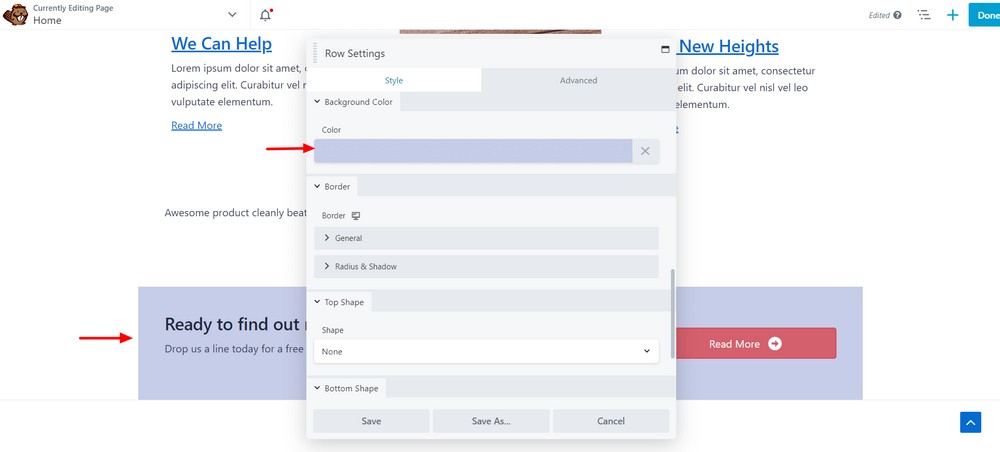
Use the Style options to change the row background color and click the Save button.
Once you’ve completed the customization, press the Done button to save the design.
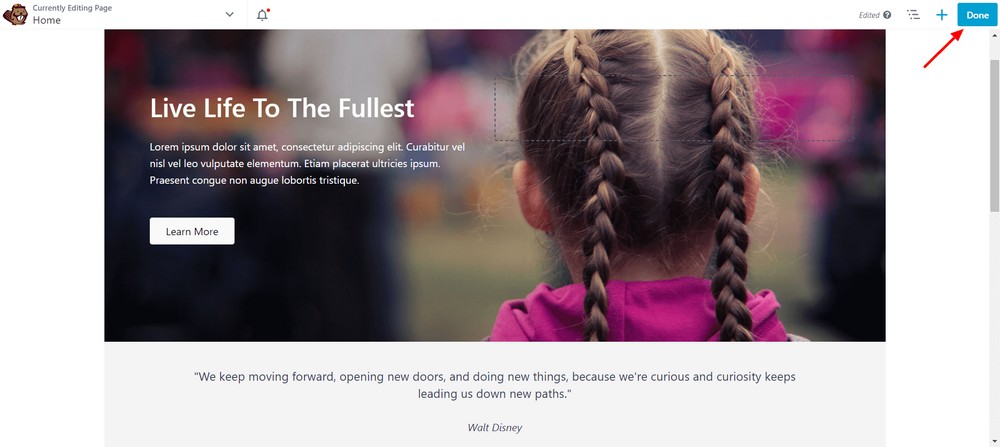
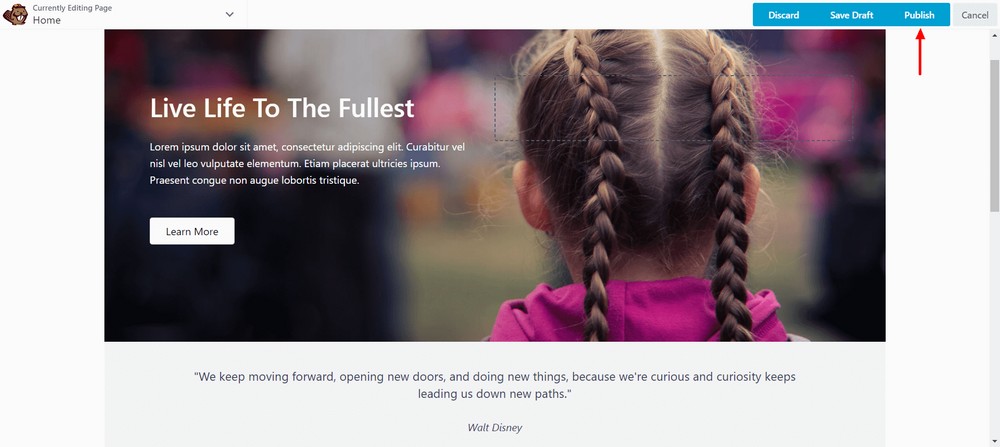
Finally, hit the Publish button to make the page available to visitors.
Let’s have a look at your new landing page.
Method 3: How to build a Landing Page using the block editor
Now let’s walk through creating landing pages with the default WordPress block editor.
To make the tutorial easy to follow, we break it down into the following sections:
- Create the page and give it a title
- Plan your layout
- Add and style the header
- Add a call to action
- Add product or service features
- Add another call to action
- Add social proof
- Add social media
- Optional – Add about us
- Optional – Add a coupon or discount block
- Check and assess
- Publish the page
- Test the calls to action and any links
Let’s get started:
1. Create the page and give it a title
First, create a new page by going to Pages > Add New on your WordPress sidebar. Give your page a title.
2. Plan your layout
First, you’ll want to plan the layout of your page. You can do this by hand on paper or by wireframing using wireframe blocks.
3. Add and style the header
Let’s start at the top: the header. The header usually includes the logo, navigation, and other elements.
However, we recommend that a landing page has no extraneous elements to distract the visitor from the purpose you’re building the page.
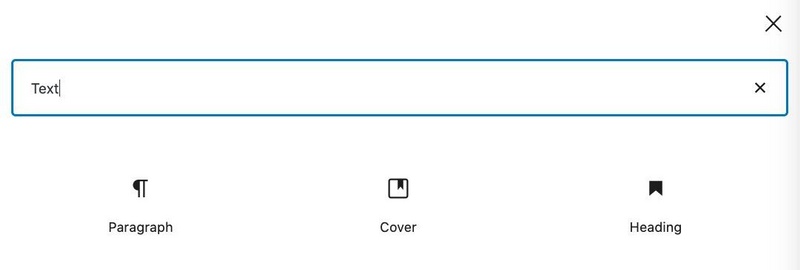
First, let’s add a logo. Click the black ‘+’ box to add a new block, then search for your logo.
Add it to the page in the usual way.
You can add other elements if you like, but for our landing page, we only want the logo in the header.
Too many distracting elements can negatively affect our conversion rate.
4. Add a call to action
Next we want a call to action. This can take many forms but is usually a clickable button. So, let’s add a button.
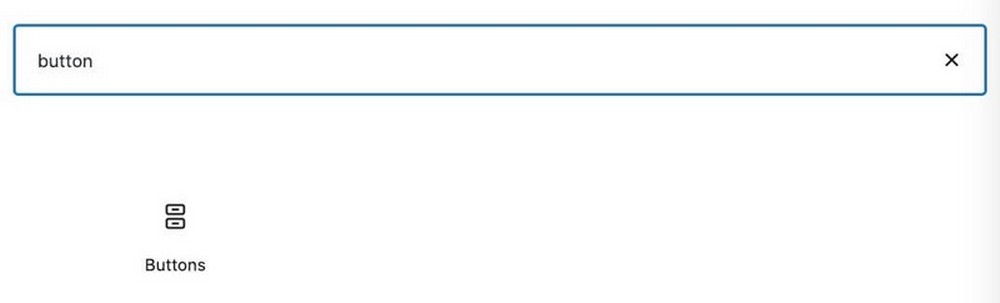
Click the black ‘+’ box to add a block and then search for the button. Click on Buttons to add it to your page.
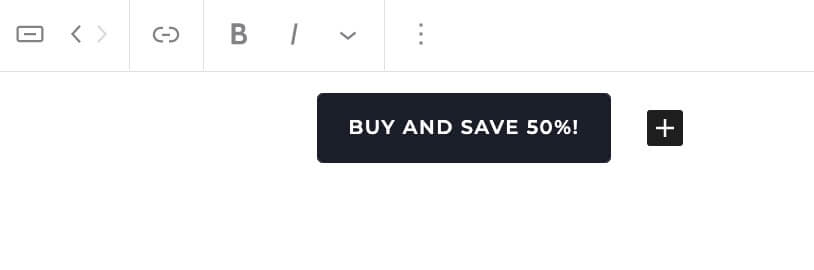
Then click the new black box that just appeared. Once you click it, a button will appear with some space to type text inside it.
Type your button text until you’re completely happy.
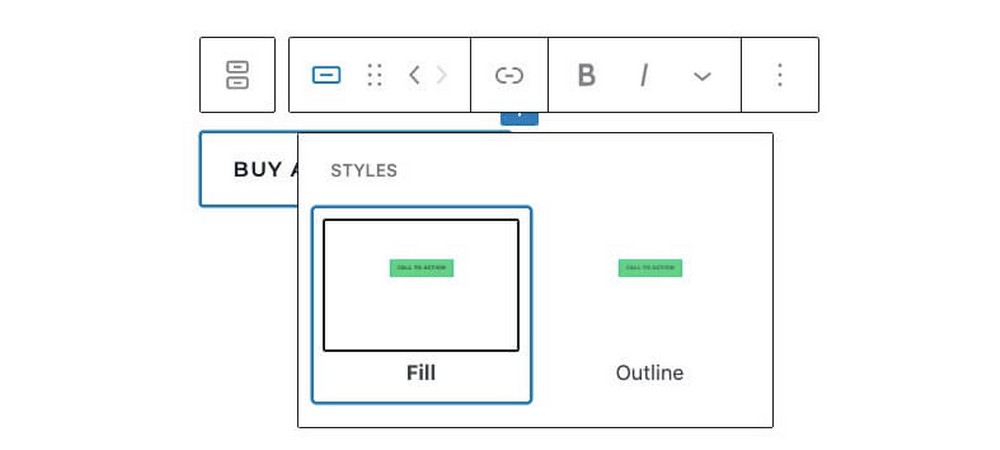
You can also customize the button’s style, change font weight, the design, and more!
5. Add product or service features
Now let’s add some more details about our product.
There are many blocks useful for this purpose, including:
- Paragraph block. This is a standard text block. It’s helpful for writing longer sections of text about the item.
- Media and text block. Lets you add an image next to some text. If you want to highlight particular elements of your product via an image, use this block.
- List block. This will let you add an ordered or unordered list. It’s useful for long lists of features and benefits, especially of a technical nature.
Add whichever ones make sense for your particular situation. Feel free to add more than one block of product information too!
Just don’t add too many as we don’t want to bog down readers with an excessive amount of information.
Remember, the goal is to convert them, not to write every possible thing about the product you can think of.
6. Add another call to action
At this point, you probably want to add another call to action. Place it below your product or service features sections.
In general, it’s not a bad idea to have 2, 3, or even 4 different call to action buttons on your page. As long as they are distributed throughout the page and all have a similar message or intent, you’re fine adding more.
7. Add Social Proof
This is also a good time to add some social proof. Social proof includes testimonials, reviews, and other comments from real people.
These help convince your readers that your product is as good as you say it is.
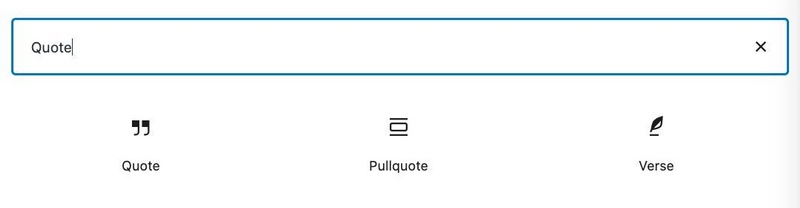
The best block to use for this purpose is likely the Quote or Pullquote. These will add a nice looking quote to your page.
You can also add social proof using images, the media + text block, or anything else. It depends on how you want to design the page.
8. Add Social Media
Finally, add links to your social media pages. The Social Icons block is an easy way to do this. You can easily add links to Facebook, Twitter, and other social networks.
9. Optional – Add About Us
An additional optional section is an About Us area. Here you can add some details about your company, the products you sell, what your values are, and so on.
10. Optional – Add a Coupon or Discount block
If you want to add a coupon or discount to your page, you can easily do so. Just use any text block and add the code in bold letters.
11. Check and Assess
Now review everything to make sure that it looks good. Are all the elements positioned correctly? Are there any typos? Do the images have alt text?
12. Publish the Page
Once you’re sure that the page is finished, press Publish.
13. Test the Calls to Action and any links
Finally, before you push the page out to customers, make sure that all of the links and buttons are working properly.
Do they include tracking codes? Do they go to the right sales page? Double check everything!
Best Landing page plugins for WordPress
Here are some best landing page builder plugins for WordPress.
Spectra
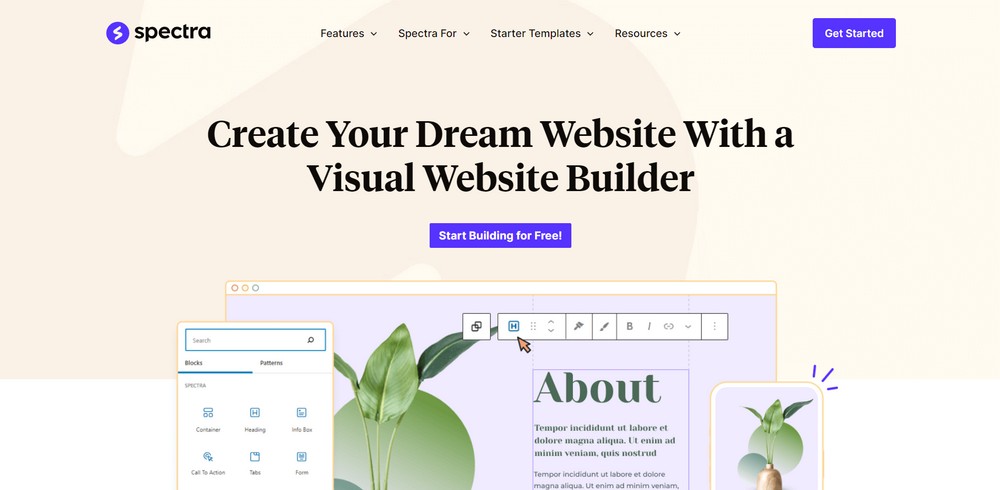
Spectra is a powerful WordPress page builder that you’ll love! Creating beautiful landing pages from scratch is very easy with its block-based approach. It provides a smooth editing experience, making your workflow fast and efficient.
You have complete control over the design and layout, which means you can design a landing page that perfectly showcases your business.
Spectra comes with tons of landing page templates, design patterns and wireframes that you can use to create your own custom landing page in just a few minutes.
Beaver Builder

Beaver Builder is a page builder plugin for WordPress. It has intuitive drag and drop content modules that make it easy for you to create stunning landing pages quickly and efficiently.
It comes with a collection of awesome landing page templates available to make your life easier.
These templates serve as an excellent starting point, saving you time and effort. With just a few clicks, you’ll have a beautiful landing page that looks professional and represents your brand perfectly.
Divi

Divi is one of the popular WordPress page builder plugins. With this amazing tool, you can easily create any kind of landing page.
It offers 2000+ predesigned templates for different niches. You can also add animations, scroll effects, change the color, background, patterns and add advanced design elements.
These features can really make your page stand out and keep your visitors engaged.
Elementor
Elementor is an awesome page builder that’s super flexible and powerful. It comes with lots of drag and drop widgets to help you build awesome landing pages.
It offers a variety of customizable templates and blocks that are user-friendly and easy to use.
You can also copy a particular design of your landing page and use it later as a template. Using this feature, you can easily replicate and reuse your favorite designs.
Top tips for designing Landing Pages
Finally, let’s cover some other useful general tips for creating landing pages. These will be helpful for any kind of project.
- Get to the point. Landing pages should grab attention in seconds. Don’t make them wade through paragraphs of text just to figure out what your page is all about.
- Use headings effectively. H1, H2, and H3 headings should be used optimally to draw attention to key points. If you use too many headings, their impact will be lessened. If you use too few, you’ll have a giant wall of text, which is just as bad.
- Keep the layout simple. Landing pages should avoid any complex column layouts, sliders, and other distracting elements. Remember, the objective is to convert your reader into a customer using calls to action.
- Use testimonials and reviews. Customers always want to know if other people have used your product and recommend it. The more testimonials you can get from real people, the better.
- Go mobile-first. Finally, you should always assume that your website will first be visited on a mobile device. As such, be sure to pick a theme that works well on mobile and ensure all images and other elements are compressed to ensure the best page loading times.
Landing Page FAQs
What is a landing page?
A landing page is a page on your website that is optimized for converting visitors. This can be selling them a product, getting them to subscribe to a newsletter or any other action. The page is designed specifically to convert visitors and not just as a general content or information page.
What are landing page design principles?
A few reliable landing page design principles are: get to the point, use headings effectively, keep the layout simple, use testimonials and reviews, and go mobile-first for your site. Overall, you should try to keep your landing page as simple and straightforward as possible in order to maximize conversions.
How do I create a landing page in WordPress?
Simply follow our guide above to continue building landing pages. You’ll need to add things like a heading, conversion buttons, calls to action, and more. Remember, when building landing pages, always remember what your ultimate goal is, whether that is increasing revenue or getting more subscribers.
Is Block Editor the same as Gutenberg?
Gutenberg is the entire “system” of WordPress, while the Block Editor is simply the designer page where you can create pages and posts. The Block Editor is “inside” of Gutenberg itself and is how you actually build landing pages and create landing page layouts.
Do I need a website for a landing page?
Yes, you’ll need to have a website in order to create a landing page. This involves getting a web host and installing WordPress on it. Thankfully, the process is very simple, especially if you use a theme like Astra that comes with many Gutenberg landing page templates. Overall, the entire time invested shouldn’t be more than a few hours.
Conclusion
Landing pages are a critical part of any online marketing effort. Without them, you will miss out on tons of potential sales, subscribers, and other important actions.
As such, it’s really important to understand what a landing page is and how you can build one on your WordPress website.
In this post, we learned what a landing page is. We also talked about the default block editor and how you can use it to easily create a landing page in WordPress.
Then, we walked you through creating a landing page, step by step. It’s actually quite easy!
Finally, we offered some other essential tips for improving your landing pages.
Do you utilize landing pages on your website? How did you make them? What are your special tips and tricks for maximizing your conversion rates? Share your experience in the comments below!

Pratik Chaskar holds the pivotal role of CTO at Brainstorm Force, serving as the backbone of the company. Renowned for his organizational skills, strategic thinking, problem-solving attitude, and expertise in leading and executing plans, Pratik plays a crucial role in the BSF’s technological landscape.
Disclosure: This blog may contain affiliate links. If you make a purchase through one of these links, we may receive a small commission. Read disclosure. Rest assured that we only recommend products that we have personally used and believe will add value to our readers. Thanks for your support!