
Are you looking to customize the appearance of a website but don’t have access to the source code? Don’t worry, because you can use the Inspect Element tool to create custom CSS and make visual changes to a webpage. In this article, we will guide you through the process of using the Inspect Element tool effectively to create your own CSS styles. By the end, you’ll be able to tweak the look and feel of any website to your liking. So let’s get started!
What is Inspect Element Tool?
Before we dive into the details, let’s first understand what the Inspect Element tool is and how it can help you create custom CSS. Inspect Element is a built-in browser tool that allows you to view and modify the HTML and CSS code of a webpage. It’s available in most modern web browsers, including Google Chrome, Mozilla Firefox, and Safari.
Inspect Element provides a comprehensive view of the HTML structure and CSS properties of a webpage. By inspecting different elements, you can identify the specific HTML tags and classes associated with them. This information will be crucial when you want to modify the CSS styles of those elements.
How to access the Inspect Element Tool?
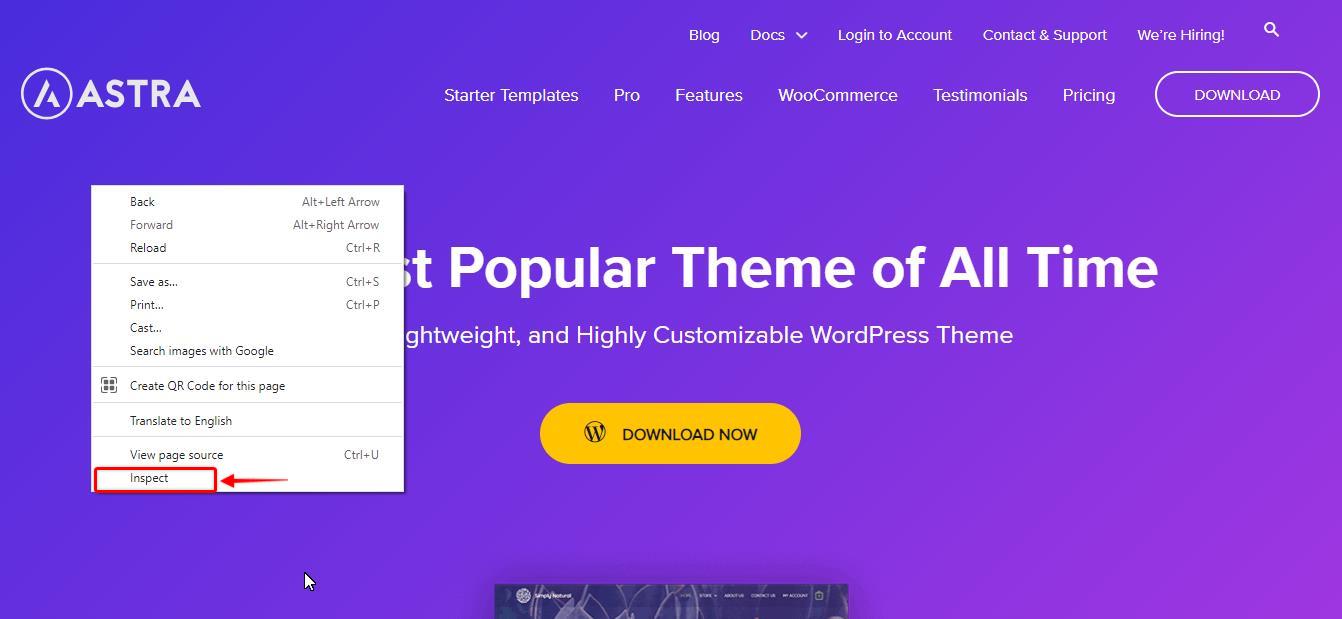
To begin creating custom CSS, you need to inspect and identify the HTML elements you want to modify. Open the webpage you want to customize in your preferred browser and right-click on the element you wish to inspect. From the context menu, select “Inspect” or “Inspect Element.”
How to Modify CSS using Inspect Element Tool?
Once you have the Inspect Element tool open, you can modify the CSS properties of the selected element. On the right-hand side of the browser window, you’ll see the Styles panel, which displays the CSS rules associated with the selected element. To make changes, simply click on the property value and edit it to your desired value. The changes will be reflected immediately in the browser window.
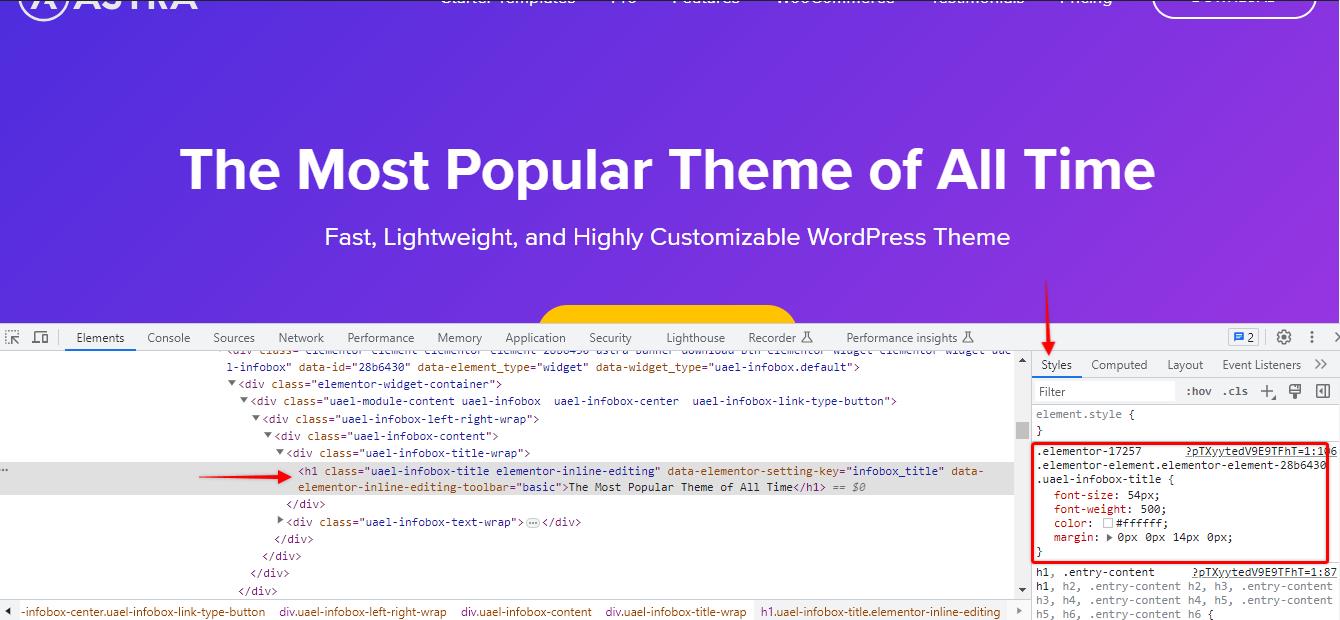
For example, let’s say you would like to change the color of the header “The Most Popular Theme of All Time”. Currently, the color is set to “#ffffff”.
To change the color, simply click on the color option under the Style menu on the right-hand side and change it to something else.
Please remember that these changes are temporary and once the browser is refreshed, the changes will be reverted to the original.
Testing and Applying Changes
After modifying the CSS properties, it’s important to test your changes before applying them permanently. You can do this by tweaking the values, experimenting with different styles, and observing the visual effects in real time. Once you’re satisfied with the changes, note down the modified CSS properties for later use.
Creating Custom CSS
In this example, we would be changing the header CSS for the Astra theme home page. You can follow the steps below to inspect and change any CSS properties for any website of your choice.
Step 1: Right-click on the element that you would like to change the CSS properties and click on Inspect or Inspect Elements.
Step 2: Modify the CSS properties from the Style option inside the inspect element tool
Step 3: Once you are satisfied with the changes, please copy the CSS code and paste it on a NotePad or any text editor of your choice. Currently, the style of the heading is set to the following:
font-size: 54px;
font-weight: 500;
color: #ffffff;
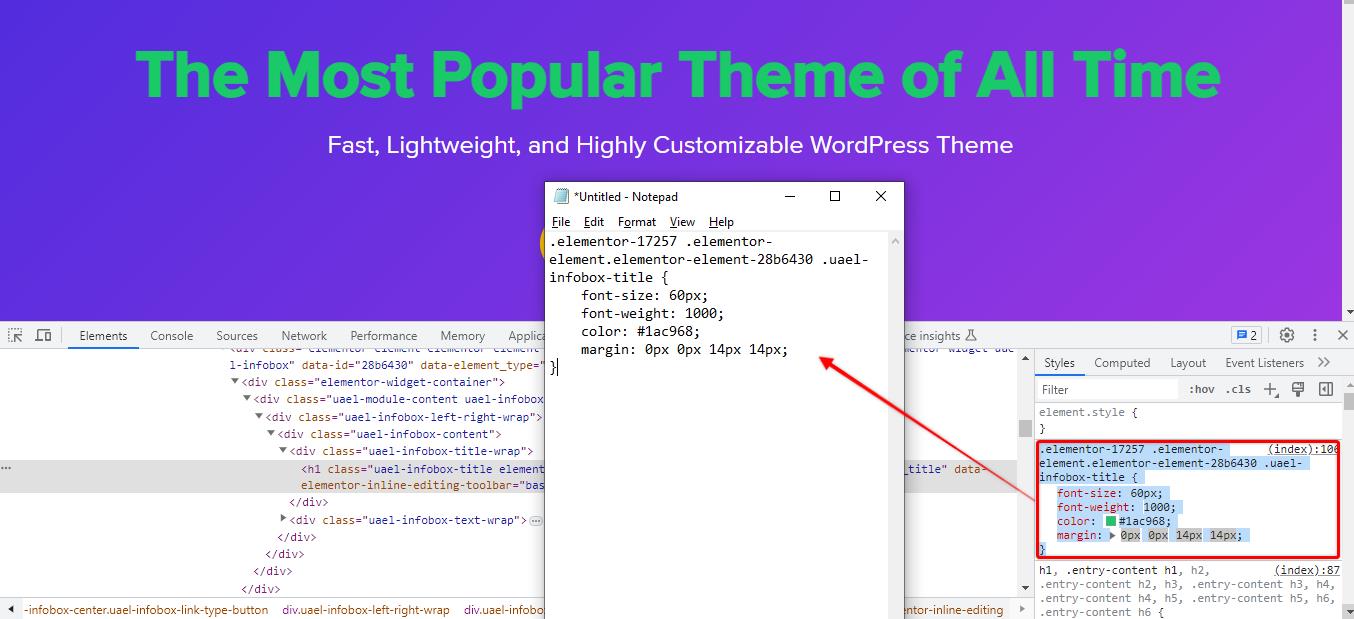
margin: 0px 0px 14px 0px;You can simply double-click and edit any of the numbers and change the color of the header as per your choice. In this case, we will be changing the font size to 60px, Font Weight to 1000, color to #1ac968, and also adding a bottom margin of 14px. The updated CSS code should look like this:
font-size: 60px;

font-weight: 1000;

color: #1ac968;

margin: 0px 0px 14px 14px;
Step 4: Copy the code along with the CSS Classes from the Inspect Element tool and paste it into the notepad.
That’s it. Your CSS code is ready to be inserted into your website.
How to Insert Custom CSS into Your Website?
To insert the custom CSS into your website, please follow these steps:
Step 1: Navigate to Appearance>Customize
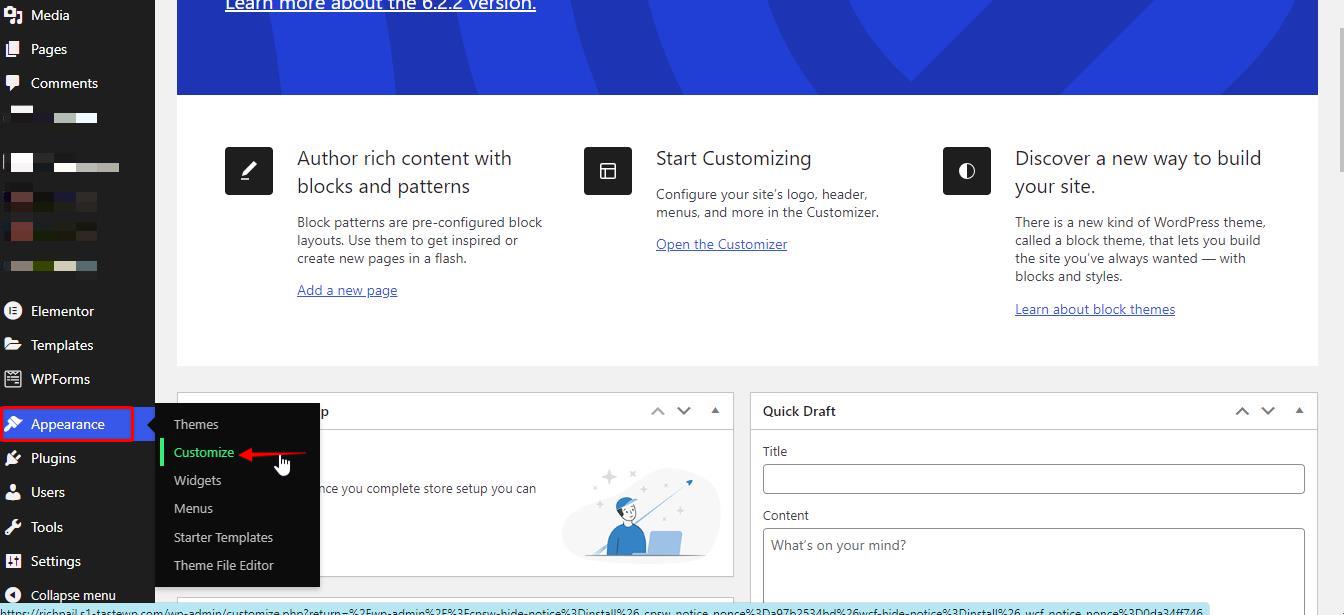
Step 2: Click on the Additional CSS option at the bottom of the Customizer

Step 3: Paste the code from the notepad and click on Publish to make the changes permanently.
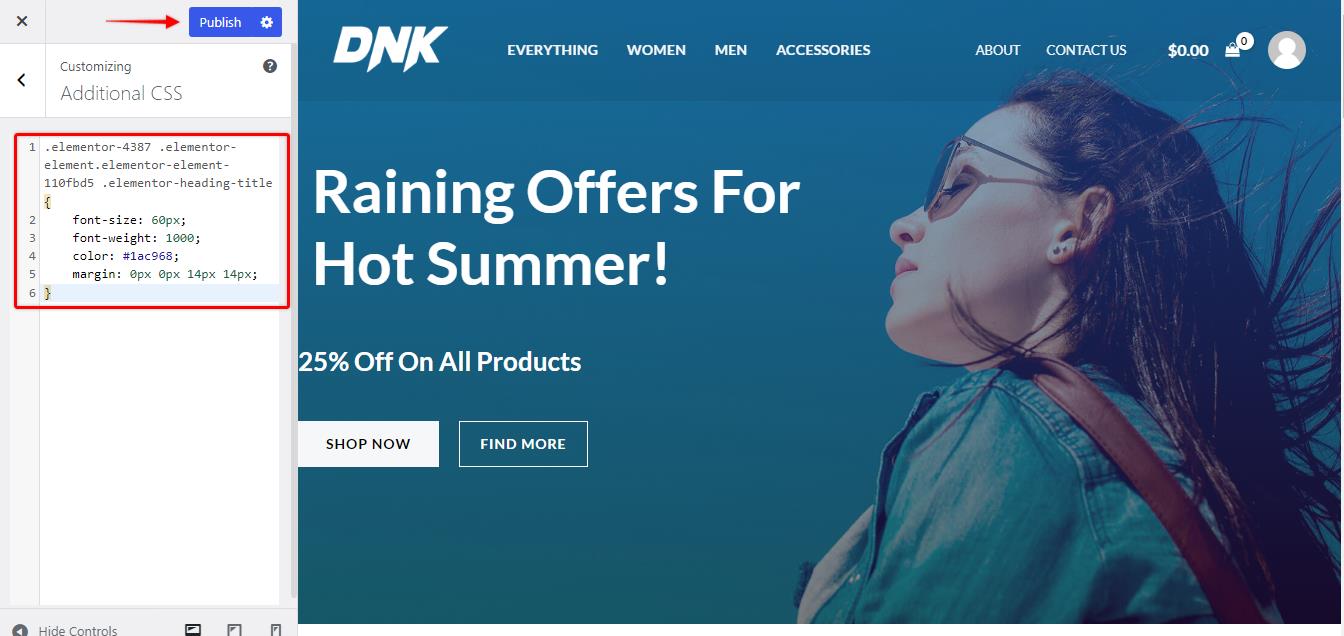
That’s it. Your custom CSS has now been applied to your website and the changes that you made are now permanent. Here is what the front end of your website will look like after applying the code.
Note: You can also toggle between the desktop and mobile sites by clicking on the Toggle Device Toolbar.
Best Practices for Using Inspect Element Tool
- Experiment on a local copy: Before making any changes to a live website, create a local copy to test your custom CSS.
- Be mindful of specificity: Ensure that your custom CSS selectors are specific enough to target the intended elements without affecting other parts of the website.
- Document your changes: Keep track of the modifications you make and the CSS properties you adjust for future reference.
- Stay up to date: Regularly update your browser to access the latest features and improvements in the Inspect Element tool.
Conclusion
The Inspect Element tool is a powerful resource for creating custom CSS and making visual changes to websites. With its help, you can experiment and personalize the appearance of webpages without altering the original source code. Remember to use this tool responsibly and avoid making changes to websites without proper authorization.


